
Office cleaning
Scuff marks on wall guards: clean the protective panel, not the paint
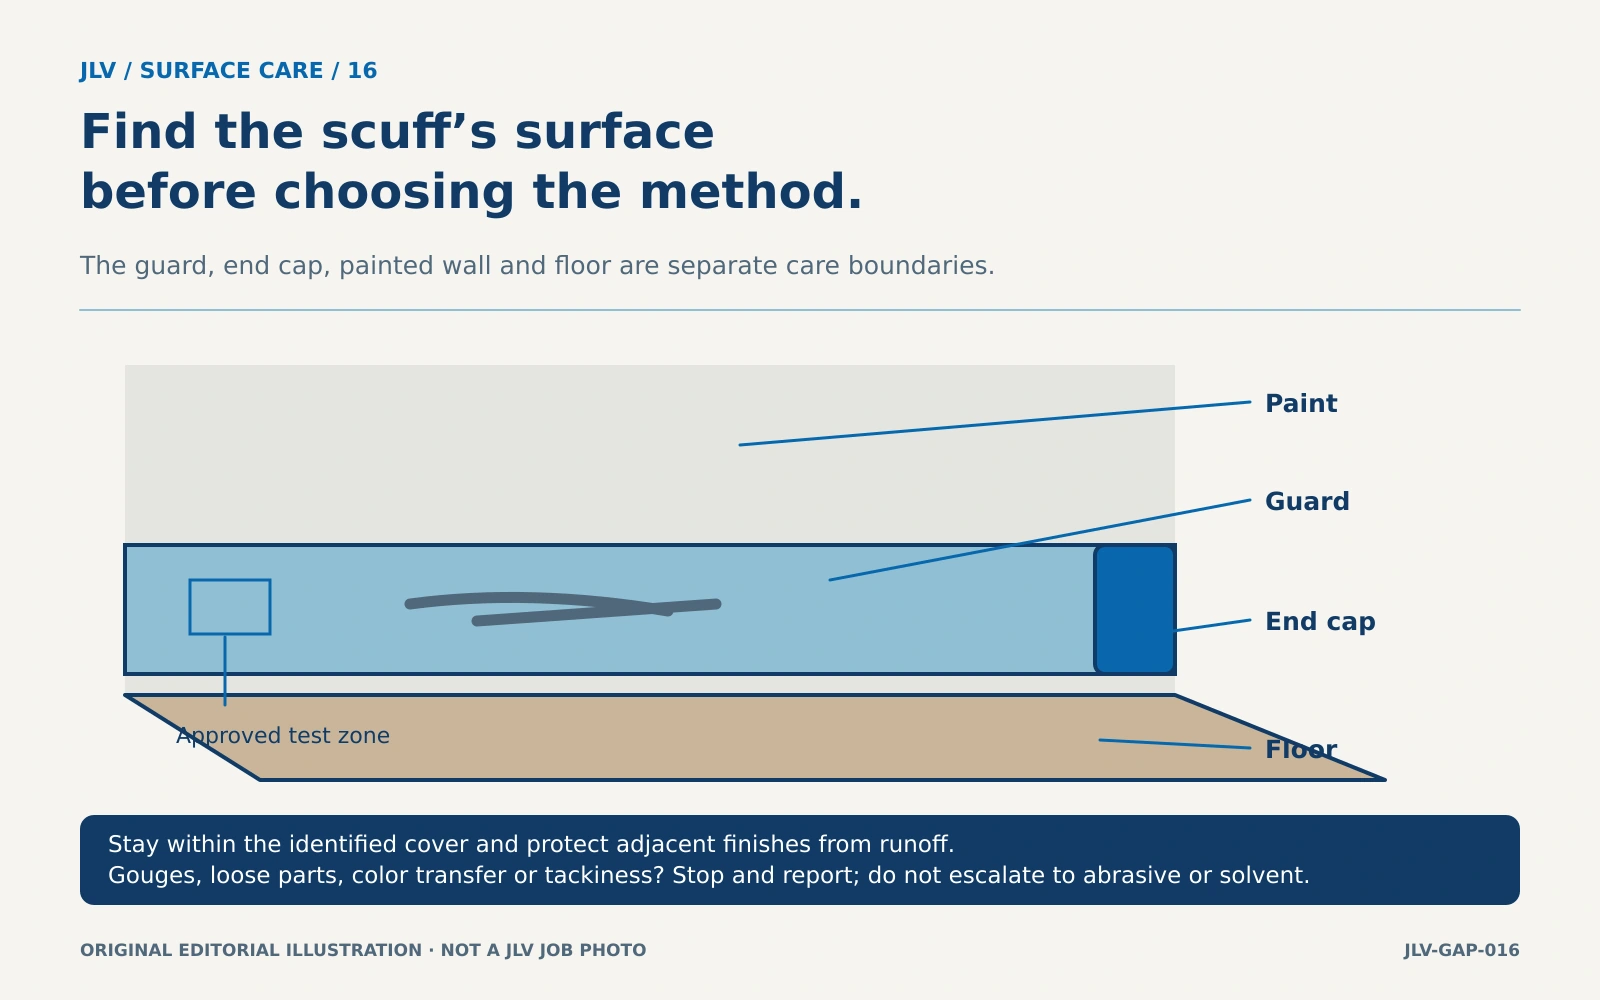
A dark line in an office corridor may sit on a protective wall guard rather than on the painted wall. That difference matters when choosing a cleaner. A rigid cover, its end caps and the paint above it can require different care, even when they share the same color.
Start by locating the actual marked surface. Then decide whether the mark is ordinary transfer worth a controlled cleaning trial or visible damage that facilities should inspect. Scrubbing harder is a poor substitute for that decision.
Identify the guard, including its finish
Ask for the wall-protection schedule or installation record. Useful details include the manufacturer, product family, cover material, texture and color or printed finish. Check whether nearby corner guards belong to the same system. Similar-looking pieces installed during separate renovations may have different instructions.
Do not detach a cover or remove an end cap to identify it. Facilities or the installer can review records and accessible labels. If the identity remains uncertain, hold stain treatment until the correct care sheet is available.
Walk the affected corridor with the site contact. Note where the mark starts and ends, whether there is an obvious impact point, and whether an edge or mounting appears loose. A delivery cart’s route may help explain a recurring mark, but a photograph alone does not prove its cause.
Keep material identification separate from care approval
Inpro's current material sample page lists protective systems in different materials, including uPVC and PVC-free G2 BioBlend. It helps explain why similar-looking guards need a precise product identity; the sample page does not supply a cleaning method.
Obtain current care instructions for the installed product and the current cleaner label before treatment. Do not apply an instruction for one rigid profile to another material, wood, clear plastic, metal or adjacent paint.
Plan a small, controlled trial
After facilities confirms the material and approved method, select a small, inconspicuous part of the marked cover. Photograph the starting condition and note the cleaner, dilution if applicable, cloth and method authorized for that product. Follow the actual label rather than estimating strength.
Protect the adjacent wall and floor from runoff. Keep the test within the cover’s boundaries, including at joints and end caps. Use clean cloth sections so transferred soil is not simply spread along the guard. Inspect after the area dries before deciding whether to continue.
A useful test answers a narrow question: did the approved method remove the transfer without changing the cover? It does not authorize other cleaners or demonstrate that all corridor materials will respond the same way.
Recognize the stopping point
Stop if color transfers from the finish, sheen changes, the surface becomes tacky or the cloth catches on damage. Also stop when an apparently dirty line is actually a gouge, split, missing finish or exposed underlying material. Report loose covers or end caps rather than trying to snap them back into place.
If ordinary approved treatment leaves the mark, ask the manufacturer or installer about the next step. Do not substitute an abrasive pad or experiment with solvents. Post-construction adhesive and paint deposits should be identified and reviewed separately from everyday cart scuffs.
Reduce repeat damage through the site plan
Record the location of recurring marks so the building manager can consider cart clearance, delivery routes or parking habits. Cleaning can address compatible surface soil; it cannot correct repeated impacts or replace worn protection.
For office or post-construction cleaning planning, contact JLV with photos, product information and the affected corridor locations. Agree on the routine cleaning scope and how unresolved marks or damaged protection will be reported.