
Tile & grout cleaning
How to Remove Cleaner Film From Porcelain Tile
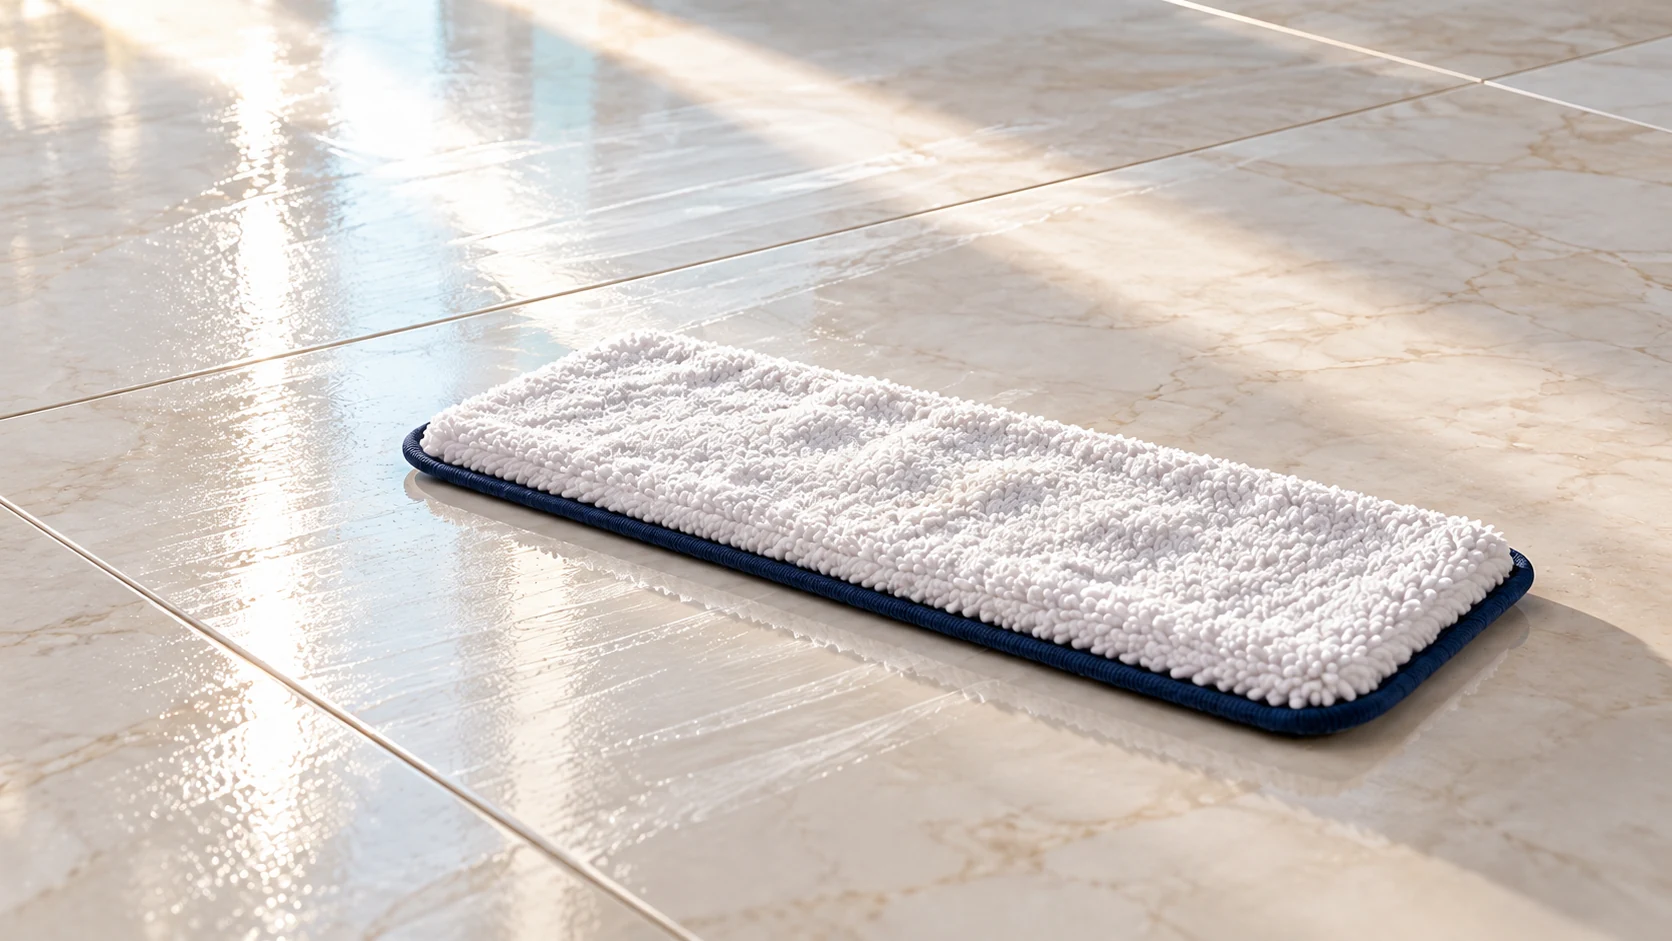
If porcelain looks streaky immediately after mopping, start with a controlled fresh-water rinse rather than a stronger cleaner. Cleaner residue and dirty rinse water can dry into a visible film. First confirm that you are seeing removable buildup, not grout haze, a coating or a damaged finish.
Read the pattern before treating it
Look at the completely dry floor from the doorway and from a low angle. Mop-shaped arcs, sticky footprints and streaks that return after every wash point toward the cleaning routine. A film present since installation suggests a different question for the installer. A dull patch that stays in exactly the same place may be wear or finish damage.
Identify the porcelain finish and any applied treatment. Polished porcelain deserves particular care. Find the last cleaner used, whether it was concentrated, and how it was measured. Do not guess that all “no-rinse” products behave alike; check both the product directions and the tile maker’s maintenance instructions.
What you need
- Clean microfiber mop pads and a separate supply of rinse water
- A non-scratching vacuum or dust mop for loose household grit
- Clean absorbent towels or a floor-compatible wet vacuum
- A measuring cup for future dilution and wet-floor protection
Remove suspected detergent film
1. Close the area to foot traffic and move small objects. Remove grit before wetting the floor. Leave an unobstructed dry route so you do not have to walk back across the test area.
2. Test one small section with clean water and a fresh damp pad. Work across the visible streaks with light pressure. This is a rinse pass, so do not add another dose of detergent. Avoid soaking wall edges or damaged joints.
3. Pick up the water with a fresh pad or appropriate wet-recovery tool. Replace the rinse water when it turns cloudy or produces obvious foam. Reusing that water can leave you chasing the same film across the room.
4. Repeat with fresh water if the first pass improved the section and the tile maker permits it. Dry the area and compare it with the untreated floor. The dry comparison matters: water can temporarily hide haze and make a disappointing result look finished.
5. If the small section clears, repeat the process in short lanes, finishing each lane before moving to the next. Keep a clean pad for final pickup. Do not leave a room-wide layer of water to evaporate.
6. Clean the mop head and bucket after finishing. Residue stored in yesterday’s equipment can be the source of tomorrow’s streaks. Follow the tool’s washing and drying instructions before putting it away.
When rinsing is not enough
A finish or wax buildup may need a remover selected for that exact coating and tile. An installation haze may need the grout manufacturer. Neither is a reason to pour vinegar over the floor. Avoid polish, wax or a new sealer to disguise an unidentified film, especially where an added coating could affect footing.
Stop if the test produces no improvement, changes the sheen or exposes patchy coating. Record the cleaner, dilution and dry appearance and ask the tile supplier for the next suitable step.
Prevent the next cloudy floor
Measure concentrate, avoid unnecessary repeat dosing and remove dirty liquid instead of letting it dry in place. Check a representative section after each routine clean. JLV can discuss an office-cleaning schedule that fits your surfaces in Orange County, Chino or Ontario, California. Start at /contact/.