
Tile & grout cleaning
How to Clean Cement Grout Lines Without Wearing Them Away
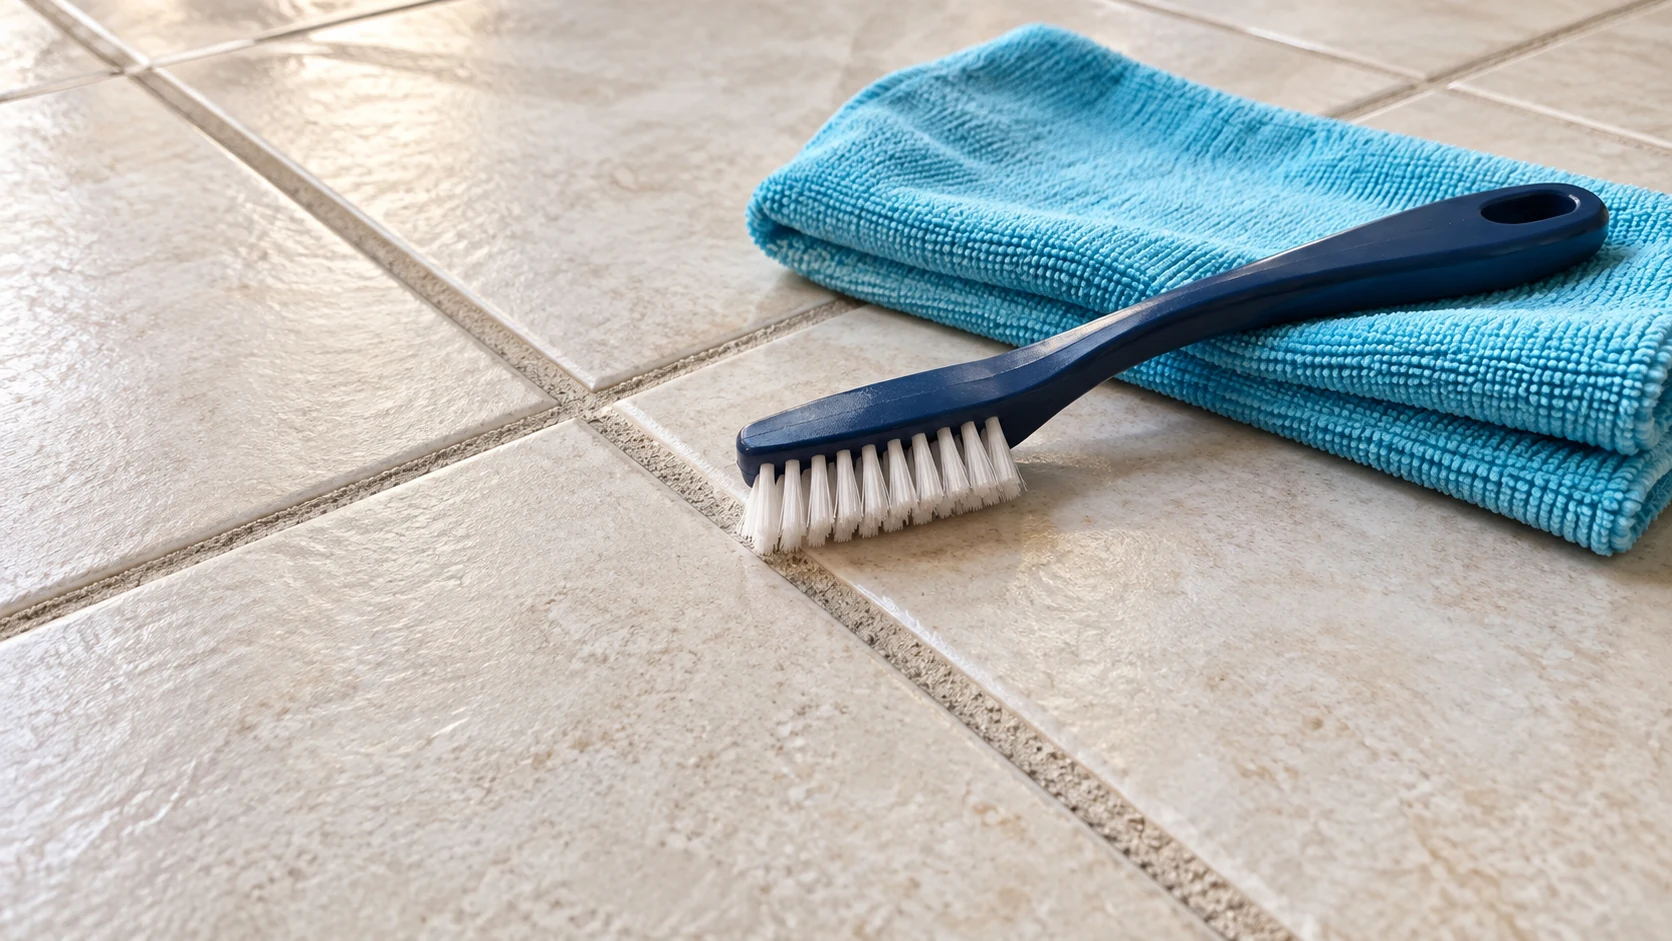
Clean sound cement grout with a compatible neutral cleaner, gentle nylon brushing and thorough dirty-water removal. The important finish is a clean, dry joint. Scrubbing harder while letting dirty solution settle back into the grout can leave you with tired arms and the same dark lines.
Confirm what is between the tiles
Find the grout name in installation records, a leftover bag or the contractor's handover. Cement grout, epoxy grout and flexible caulk need different treatment. Check the adjoining tile too: a grout cleaner may be unsuitable for marble, metallic decoration or a sensitive sealer. Do not identify grout by scratching it or dropping acid on it.
Look along the joints before washing. Loose grains, deep cracks, missing sections and movement underfoot need an installer’s assessment. Cleaning cannot replace missing grout or correct a leak. Newly installed grout must reach its manufacturer’s permitted cleaning stage before you begin.
Gather a small, controlled kit
- A pH-neutral cleaner approved for the grout, tile and any sealer
- A soft nylon grout brush, clean microfiber cloths and two containers for clean and dirty water
- A floor-safe vacuum or soft dust mop for ordinary household grit
- Label-required gloves and eye protection, plus a way to keep people off the wet floor
Work one short run at a time
1. Remove loose dirt. Pay attention to corners and the low channels between tiles. Use a non-scratching attachment, and avoid dragging grit across the glaze. This routine method is not for unidentified construction dust.
2. Measure the cleaner exactly as its label directs. More concentrate does not automatically clean better. Test a short, hidden joint and a neighboring tile; rinse it, let it dry and compare color and sheen before treating the visible area.
3. Apply to a section you can finish before the solution dries. Follow the stated contact time. Keep runoff away from wood trim and other surfaces that the product does not cover.
4. Brush along the joint with light, repeated strokes. Hold the brush so the bristles contact the recess rather than grinding its plastic edge against the tile. If grout grains come loose, stop. A wire brush, drill brush or pressure washer is not a safe substitute for controlled hand work.
5. Lift the dirty liquid with clean absorbent cloths or suitable wet-recovery equipment. Do not use an ordinary dry vacuum for liquid. Rinse as directed with fresh water, then recover that water too. Switch cloths and rinse water as they become dirty.
6. Let the section dry fully before judging its color. Damp cement grout can look darker. Compare the test section with a less-used area, rather than expecting every older joint to match a new grout color card.
If discoloration remains
Photograph the dry result and record which product you used. One repeat of an approved method may help when the first pass clearly lifted soil. No improvement, bleaching, powdering or a stubborn white crust calls for a different diagnosis. Improvised acid washing can remove color and weaken cement grout; it is not the next routine step.
Keep the improvement
Remove tracked-in grit, blot spills promptly and change mop water before it becomes a dirt delivery system. Discuss sealing separately with the grout manufacturer; some modern cement grouts do not require it. For a practical office-cleaning plan in Orange County, Chino or Ontario, California, contact JLV Cleaning and Maintenance at /contact/.