
Tile & grout cleaning
How to Clean Epoxy Grout
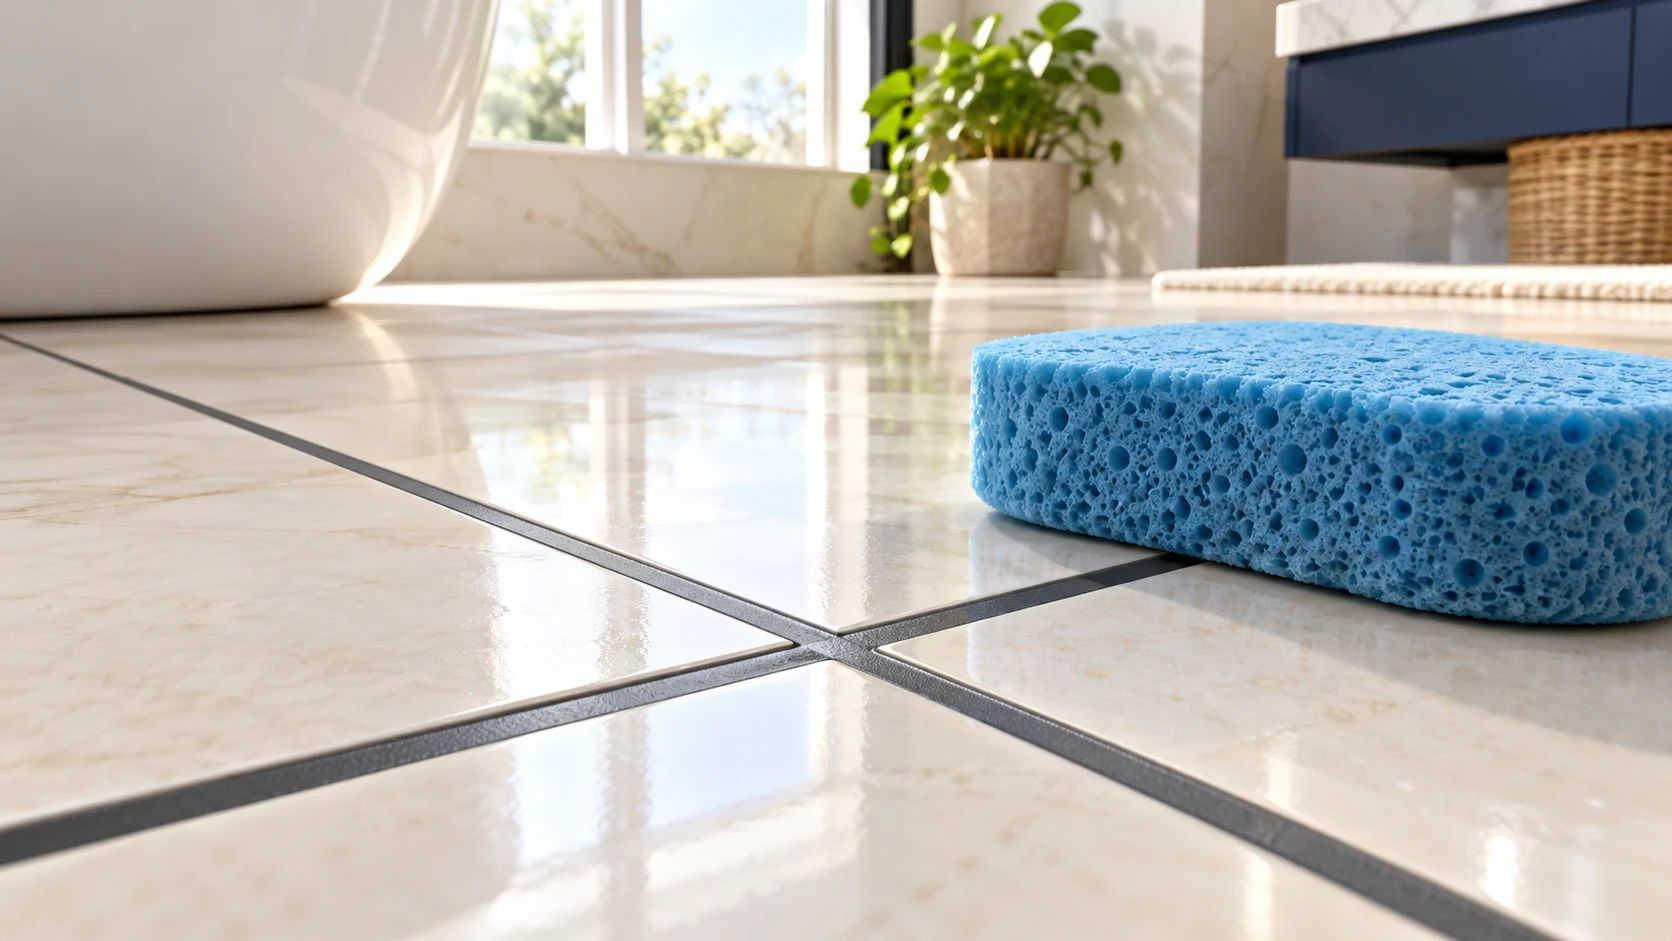
Epoxy grout benefits from regular, gentle cleaning even when it resists absorption. Start with the grout manufacturer’s approved mild cleaner, loosen surface soil with a soft tool, then collect the liquid and rinse. A film on top of a joint can look like a stain inside it.
Check the grout and its neighbors
Confirm that the installation actually uses epoxy grout. Ready-mixed products and cement grouts may be described casually as “stain resistant,” but that does not make them interchangeable. Keep the product name with the building’s care information so a future cleaner does not have to guess.
Also identify the tiles, decorative inserts and sealants. The grout’s chemical resistance does not give nearby polished stone or metal trim the same resistance. This guide covers routine traffic grime and bathroom residue on an intact, cured installation. A shiny smear left from grouting is an installation-residue problem and may need a grout-specific haze remover selected by the installer.
Supplies
- Manufacturer-approved mild cleaner and its current label
- Soft microfiber cloth or mop, a soft nylon brush if allowed, and clean water
- Separate clean and dirty-water containers or appropriate wet-recovery equipment
- Gloves and other protection specified by the cleaner; wet-floor signs for shared areas
A practical cleaning sequence
1. Remove ordinary loose grit from the tile surface and joints. Clear movable objects so you can finish full sections rather than cleaning small islands around them. Inspect for cracked or separated joints before adding water.
2. Make a small test patch in a quiet corner. Use the stated dilution, work the cleaner lightly into the surface and rinse as instructed. Allow the patch to dry before checking for changes in grout color or tile sheen.
3. Clean the tile and grout together in manageable sections. Apply only enough solution to carry out the label’s method. Leaving a large puddle across the room makes it harder to control contact time and recover the soil.
4. Agitate the joints gently. Work especially carefully where a traffic lane meets the wall: a mop may pass over these recesses while leaving residue behind. Let the compatible cleaner do its job instead of increasing force with a hard pad.
5. Collect the loosened residue before it dries. Rinse with fresh water where the product requires it and pick up the rinse water. Keep changing the cloth face; a gray cloth dragged over the next section simply relocates the problem.
6. Inspect the floor when dry, in its usual lighting. Check both the center of the room and the edges. A clean floor should not have a tacky film, pooled liquid or visibly dirty seams left at transitions.
Common mistakes to avoid
Do not assume epoxy grout needs routine penetrating sealer. Do not use a solvent, bleach soak or abrasive powder because the word “epoxy” sounds indestructible. LATICRETE notes that certain harsh cleaners can dull epoxy grout. A cleaner that damages adjacent tile is unsuitable even if the grout tolerates it.
Steam is also a product-specific decision. Do not treat an unknown premixed joint as heat-resistant epoxy. For persistent residue, ask the grout maker to review photographs, the product name and the cleaning history before trying a new chemical.
Maintenance and stopping points
Clean spills before they dry into the surface and schedule edge brushing according to observed buildup. Stop for lifting tiles, failed sealants or a mark that does not change after suitable cleaning. Those need investigation rather than more scrubbing. For coordinated business and office cleaning in Orange County, Chino and Ontario, California, reach JLV at /contact/.