
Bathroom cleaning
How to Remove Soap Scum From Ceramic Shower Tile
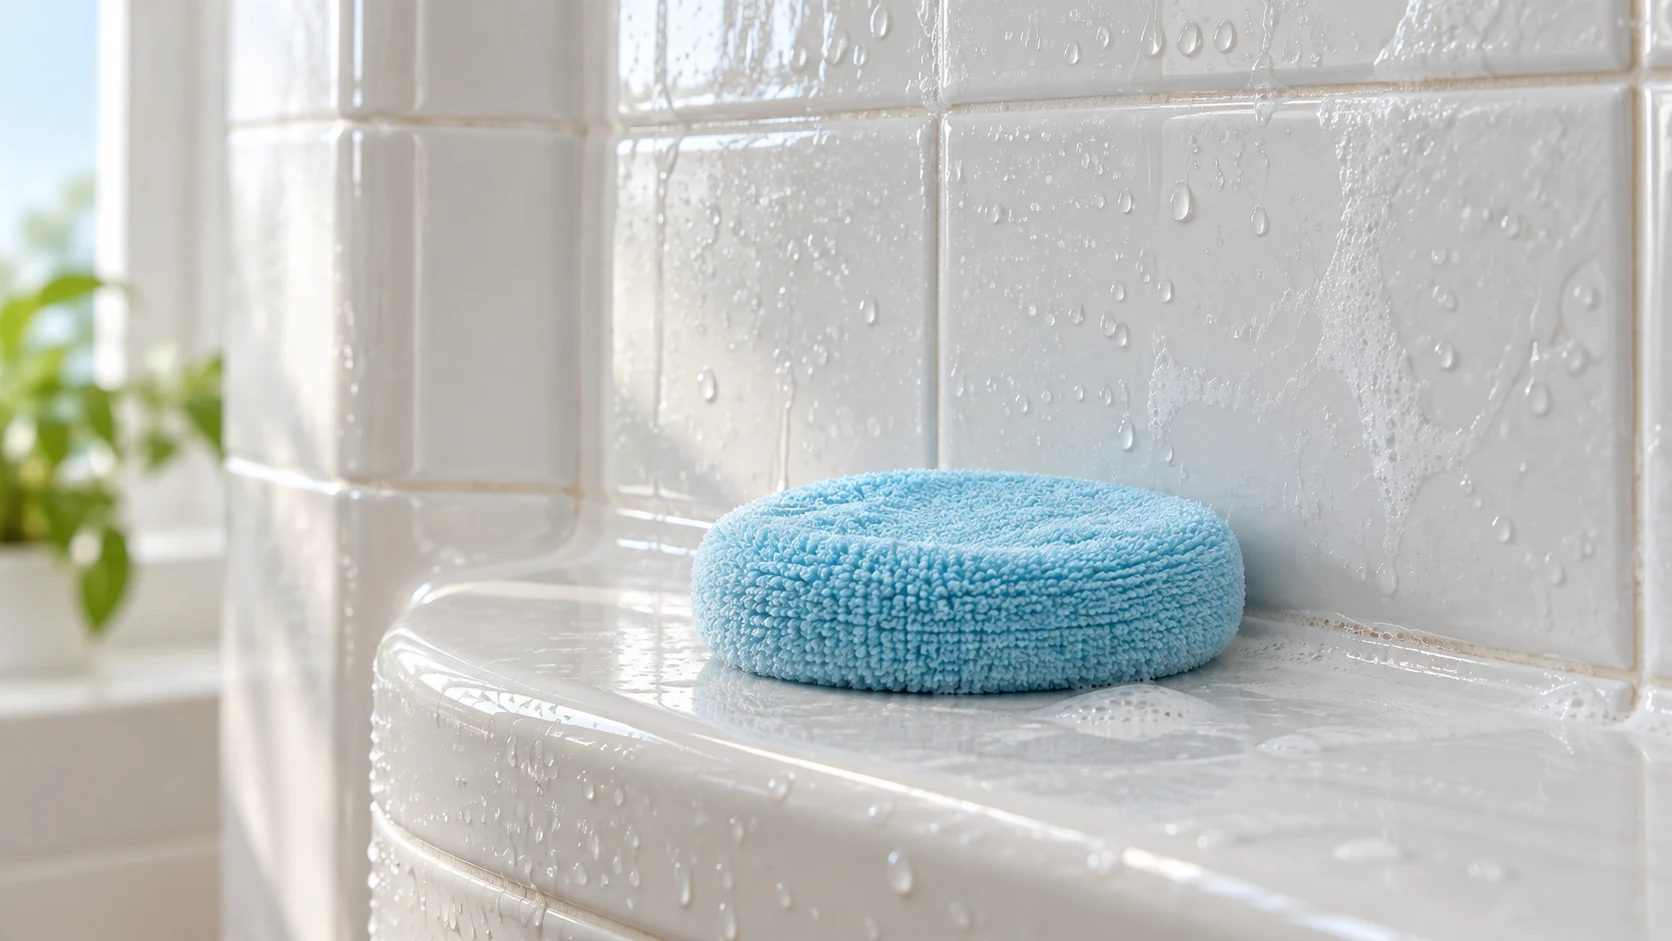
To remove soap scum from ordinary glazed ceramic shower tile, use a compatible soap-film cleaner, give it only the labeled working time, wipe gently and rinse thoroughly. Check grout and trim compatibility first. A cleaner that works on the tile face can still damage the rest of the shower.
Decide what the buildup might be
Soap scum often appears as a smeary film in splash and contact areas. A hard white crust may include mineral deposits, while a film left after renovation may be grout residue. These can overlap, so the first test should be small and controlled rather than based only on color.
Confirm the wall is glazed ceramic. Natural-stone borders, metallic decorative tiles, crackled glaze and damaged grout are outside this general method. Read their individual care instructions or ask the installer. Check caulk edges and drainage before adding more water to a problem area.
Supplies
- A labeled soap-scum cleaner approved for the ceramic, grout and nearby materials
- Soft cloths or an approved nonabrasive sponge, plus a gentle nylon brush if permitted
- Clean rinse water and a non-scratching squeegee or drying cloth
- Gloves, eye protection and ventilation as required by the label
Remove the film step by step
1. Clear bottles, shelves and removable accessories. Lift loose hair and debris. Keep a dry place to stand and make sure people will not enter the wet area unexpectedly.
2. Read the cleaner label before opening it. Check whether it must be diluted, how it is applied and how long it may remain. Do not combine it with bleach, another bathroom spray or a home-mixed solution.
3. Test a discreet section. Apply, wait only as directed, wipe and rinse. Let the area dry so you can check the grout color, glaze and neighboring finish. If the test causes dulling or color change, stop.
4. Work a small wall section at a time. Keep the product away from fittings it does not cover and avoid uncontrolled overspray. On permitted tile, a soft cloth should loosen film after the approved contact time without needing a forceful scouring motion.
5. Wipe the released residue away using fresh cloth faces. Rinse fully, especially at the lower edge of the section. Do not let a dirty cleaner solution run down and dry on an already finished area.
6. Complete shelves and lower walls, then clean the floor with the method suited to its material. Remove remaining water and inspect the dry shower. If the test improved a heavy patch, repeat only if the label allows it.
If it still looks cloudy
Stop treating an unchanged hard deposit as ordinary soap film. Ask the tile or grout manufacturer which next step fits the confirmed material. Increasing strength, extending contact time or reaching for a toilet-bowl cleaner can damage grout and glaze.
Do not scrape with a razor or use an abrasive drill brush. A loss of sheen is not always removable soil. For recurring growth or dampness, address ventilation, leaks and failed seals, and obtain a qualified assessment when needed.
Keep film from becoming a project
Rinse fresh toiletries residue from suitable surfaces, remove water with a squeegee and let shelves dry. Clean bottle bottoms and avoid leaving bars or leaking containers directly on the tile. For a business or office washroom-cleaning plan in Orange County, Chino and Ontario, California, contact JLV through /contact/.