
Bathroom cleaning
How to Clean Bathroom Silicone Caulk
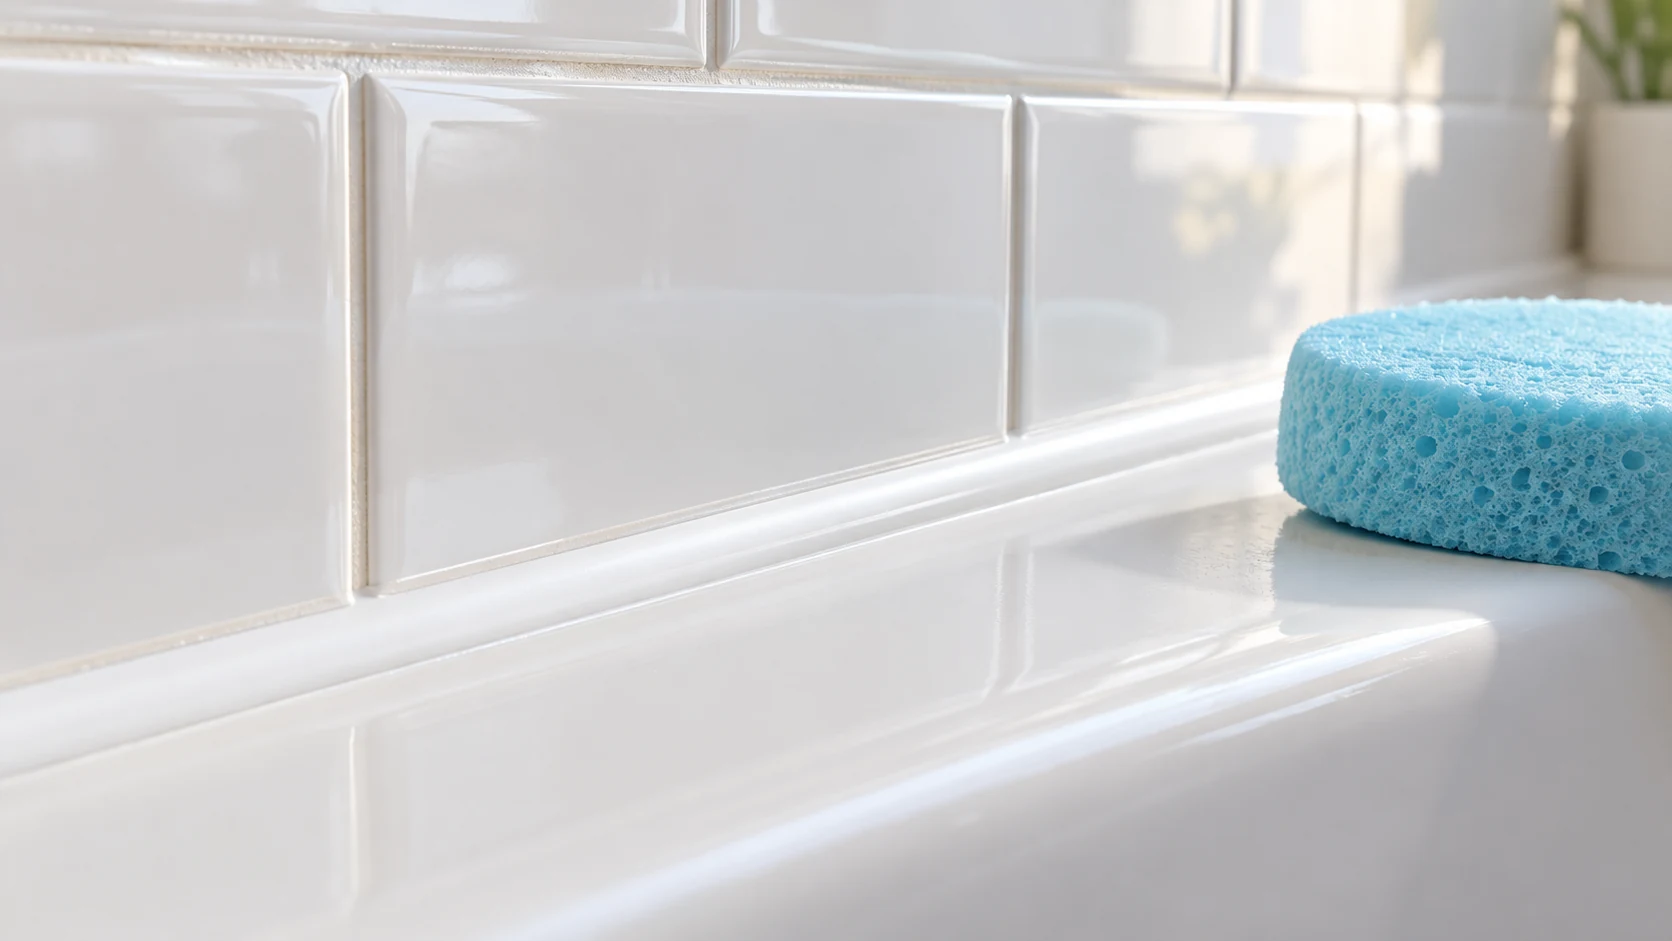
Clean surface residue from sound bathroom silicone with an approved mild cleaner and a soft cloth, then rinse and dry. First inspect whether the bead is still attached. A lifting edge or dark staining beneath the seal needs a repair assessment rather than increasingly forceful scrubbing.
Decide whether the joint is intact
Look along the entire bead, including corners where water collects. Take a clear starting photograph and note gaps, cracks, soft spots, separated edges and recurring moisture. Do not pull the bead or probe behind it to investigate. A seam can look tidy from a distance while no longer keeping water where it belongs.
Silicone is different from cement grout and from paintable acrylic caulk. Find the sealant type if possible and confirm the materials on both sides. The cleaner must suit the bead, adjacent stone or tile, and any tub coating. A safe product for ceramic may still damage nearby marble or metal.
Gather a small kit
- A nonabrasive cleaner permitted by the sealant and surrounding-surface makers
- Soft cloths, a gentle sponge and clean water
- A dry towel for the seam and the floor below it
- Label-required gloves and eye protection, with suitable ventilation
Clean the visible surface gently
1. Remove objects that block access. Lift loose hair and debris without digging into the joint. If the area is wet when it should be dry, identify the water source before repeating a cosmetic clean.
2. Test the approved product on a discreet intact section. Follow the label, rinse and dry it. Check that the silicone has not softened, changed color or separated and that the adjacent finish is unchanged.
3. Wipe along the bead with a damp soft cloth. Use controlled strokes rather than scrubbing across the edge where the silicone joins the tile. Keep the cloth clean as residue transfers.
4. If the maker permits a short working time for stubborn ordinary residue, follow it exactly. Do not leave a chemical-soaked towel on the seam overnight or cover it with plastic to extend exposure.
5. Remove the loosened film, rinse as directed and wipe the seam dry. Pay attention to the low corner and the underside of a nearby ledge, without forcing water behind the bead.
6. Inspect after drying. Compare the starting photograph with the result. A clean surface, intact attachment and an area that dries normally are more useful checks than demanding a perfectly white line at any cost.
Staining, growth and seal failure
A dark mark does not identify a mold species or establish what is happening behind the joint. If there is a small suspected mold patch, assess it under appropriate mold guidance before disturbing it. Larger areas, recurring growth, hidden moisture, sewage or health concerns need qualified advice.
GE’s guidance distinguishes cleanable surface discoloration on an intact bead from lifting or under-bead staining that can require replacement. Do not add new silicone over a failing or moldy joint. The moisture source and surface condition must be addressed first by a suitable trade.
Avoid common damage
Skip blades, wire brushes and hard picking tools. Do not use grout-cleaning force on a flexible seal. A seam that stays stained after approved gentle cleaning may need replacement rather than another chemical.
Dry wet corners after use, keep bottle residue from collecting and inspect the bead regularly. For ordinary washroom care within business and office cleaning in Orange County, Chino and Ontario, California, contact JLV at /contact/. Seal replacement and moisture repairs should be handled by the appropriate specialist.