
Stone cleaning
How to Clean a Natural Stone Shower
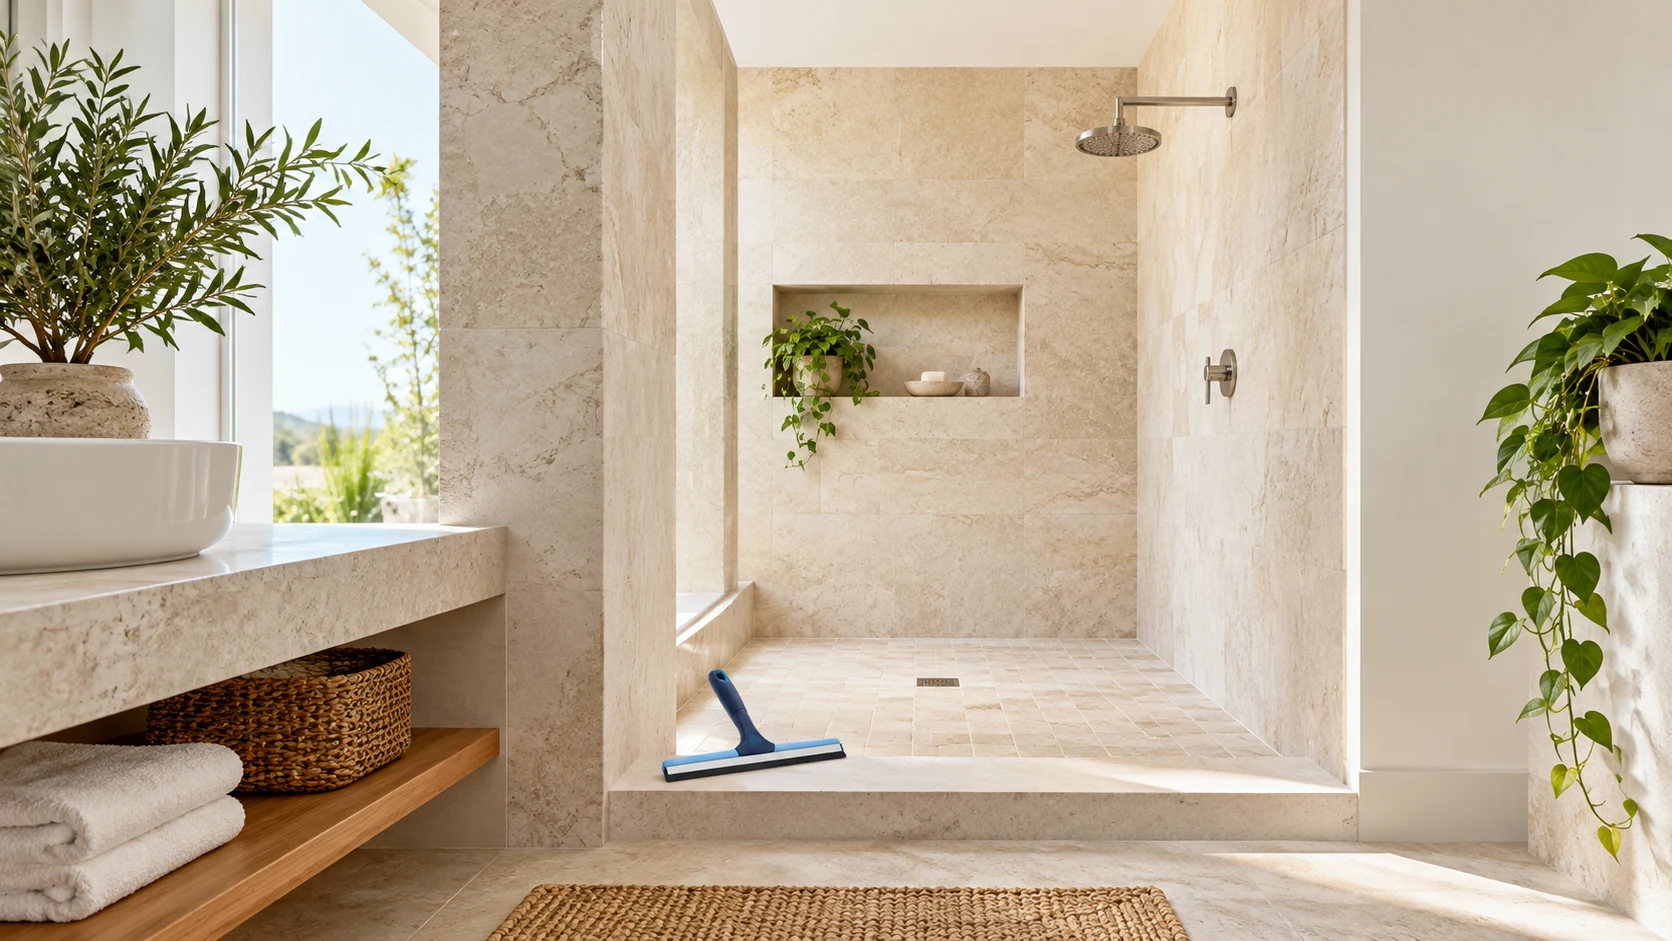
Clean a natural-stone shower with a product approved for the actual stone, finish and grout. Use gentle wiping, rinse thoroughly and remove standing water. If soap film needs a separate remover, choose a stone-compatible nonacidic one rather than a generic bathroom descaler.
Identify before spraying
Marble, travertine, limestone, granite and slate do not share identical care requirements. Find the stone name and the sealer or coating used, and include the shower floor, curb, shelves and decorative inserts. The floor may be a different material from the walls.
Inspect for loose stone, failed caulk, open grout, recurring dark patches and areas that remain wet between uses. Those conditions need investigation before repeated wet cleaning. If growth is widespread, returns quickly or suggests a hidden moisture problem, get appropriate professional advice instead of treating the whole shower as an ordinary cleaning task.
Prepare a stone-safe kit
- Neutral stone cleaner approved for routine use, or a specifically approved nonacidic soap-film remover when needed
- Soft cloths or a nonabrasive sponge, clean water and a suitable squeegee
- A soft nylon brush only where the finish maker permits it
- Label-required protection and ventilation, with a dry stable place to stand
Clean the shower in a controlled sequence
1. Remove bottles, mats and accessories. Lift hair and ordinary loose debris without scraping the stone. Set aside rusted containers or leaking products so they cannot immediately mark the cleaned area again.
2. Test a small hidden patch that includes stone and grout. Use the label’s dilution and timing. Rinse, dry and inspect for color or sheen changes before continuing. Never use an acid spot test to identify stone.
3. Start with the walls and shelves. Work in small sections, using enough solution for the approved method while keeping runoff controlled. Keep the cleaner away from metal fixtures and glass coatings unless their instructions also permit it.
4. Wipe gently to loosen film. Change cloth faces as they become soiled. If a buildup remains, use the approved soap-film product as its label directs, not a second chemical layered over the first. Never mix cleaners.
5. Rinse each finished section thoroughly, then clean the floor last with its own compatible method. Collect loosened residue rather than pushing it into grout or toward an obstructed drain.
6. Use a clean, non-scratching squeegee or cloth to remove excess water. Dry ledges and corners and let the room ventilate. Check the shower again when the stone is dry, including the lower wall and curb.
What ordinary cleaning cannot fix
Acid etching, damaged polish, deep stains and failed waterproofing need different expertise. A cleaner that makes a wet patch look shiny has not proven that the finish is restored. Persistent white crust may also need a stone specialist’s diagnosis before treatment.
Avoid vinegar, lemon, generic acidic limescale products and unapproved bleach. Do not scrub joints with wire tools or add sealer over unresolved moisture. Ask the stone supplier about sealing separately; not every stone needs the same product or schedule.
Reduce tomorrow’s buildup
Wipe water from ledges after use, keep bottle bottoms clean and use the available ventilation. Report a dripping fixture rather than accepting a permanently wet corner. For routine office-cleaning planning in Orange County, Chino and Ontario, California, contact JLV at /contact/. Specialized stone restoration and moisture repairs should be assessed by the appropriate trade.