
Stone cleaning
How to Clean Marble Bathroom Floors
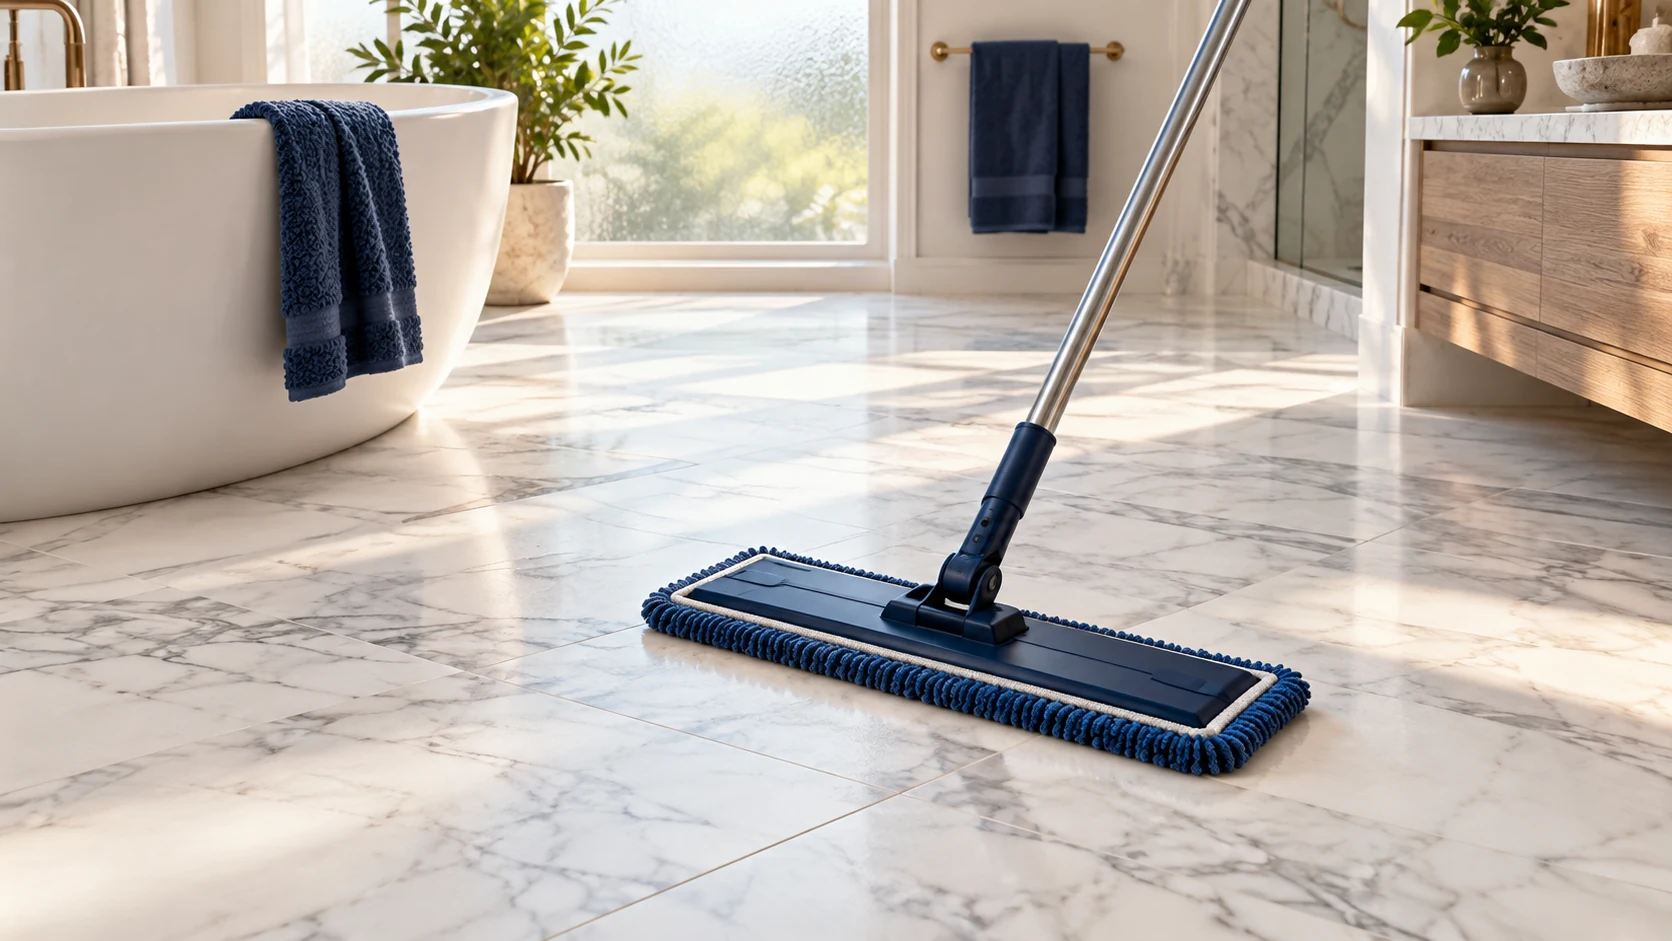
For a marble bathroom floor, lift grit first, wash with a neutral cleaner approved for marble and its finish, then rinse as directed and dry. Keep acidic bathroom products away from the stone. A dull mark may be etching, which ordinary cleaning will not polish away.
Know the marble and the finish
Find the supplier’s care instructions and note whether the floor is polished, honed or coated. Marble-look porcelain requires a different care plan. If the identification is uncertain, ask the installer rather than trying a vinegar test on the installed floor.
Check the grout and perimeter caulk for gaps. Look around the toilet and shower for recurring dampness. A leaking fixture or open joint needs repair before wet cleaning. Set aside rust removal, paint removal and polishing; these are not part of a routine wash.
Gather gentle supplies
- Neutral marble-safe cleaner, compatible with any installed sealer or coating
- Clean untreated dust mop or non-scratching vacuum attachment
- Soft microfiber mop pads, fresh rinse water and absorbent drying cloths
- Label-required protection and a way to keep people away until the floor is dry
Clean without chasing shine
1. Lift mats and movable items. Check their undersides for trapped grit before putting them elsewhere. Remove ordinary loose soil from the whole floor, especially behind the door and at transitions. Inspect vacuum wheels and attachments for rough edges.
2. Blot fresh spills rather than spreading them. For known ordinary bathroom residue, follow the marble care guide’s cleaning method. If an unknown chemical spilled, identify it and obtain appropriate advice before adding another product.
3. Dilute the cleaner precisely. Test in a hidden area, including the grout, then rinse and let it dry. Compare under the same light. A wet stone surface can conceal a change in sheen.
4. Wash a small area with a damp pad, avoiding standing puddles. Start farthest from the exit and work toward a dry route. Keep the pad clean, and change it when it begins moving dirt instead of lifting it.
5. Rinse according to the product and stone instructions. Use fresh water and remove the liquid promptly with a separate clean pad or cloth. Give edges around fixtures particular attention without forcing water underneath them.
6. Dry, then inspect from the doorway and a low angle. Check for residue, missed grit and water near the shower threshold. Do not walk across the floor to test how slippery it is; keep it closed until dry.
Understand the mark that remains
A darker area can be a stain or retained moisture. A dull splash shape may be acid etching, where the finish has changed. Neither should prompt harder scrubbing. Sealing can improve stain resistance, but an impregnating sealer does not make marble immune to etching.
Do not use vinegar, lemon, toilet-bowl cleaner, rough pads or a DIY polishing powder on an unidentified marble finish. Keep toilet products from splashing onto the floor. If a mark persists after a proper gentle clean, photograph it dry and contact the stone supplier or a restoration specialist.
Maintain a calmer bathroom floor
Remove grit regularly, wipe splashes promptly and let mats and the floor beneath them dry. Keep a record of the approved cleaner so everyone uses the same approach. For business and office cleaning in Orange County, Chino and Ontario, California, speak with JLV through /contact/ about routine care for the materials in your workspace.