
Tile & grout cleaning
How to Clean a Mosaic Tile Floor
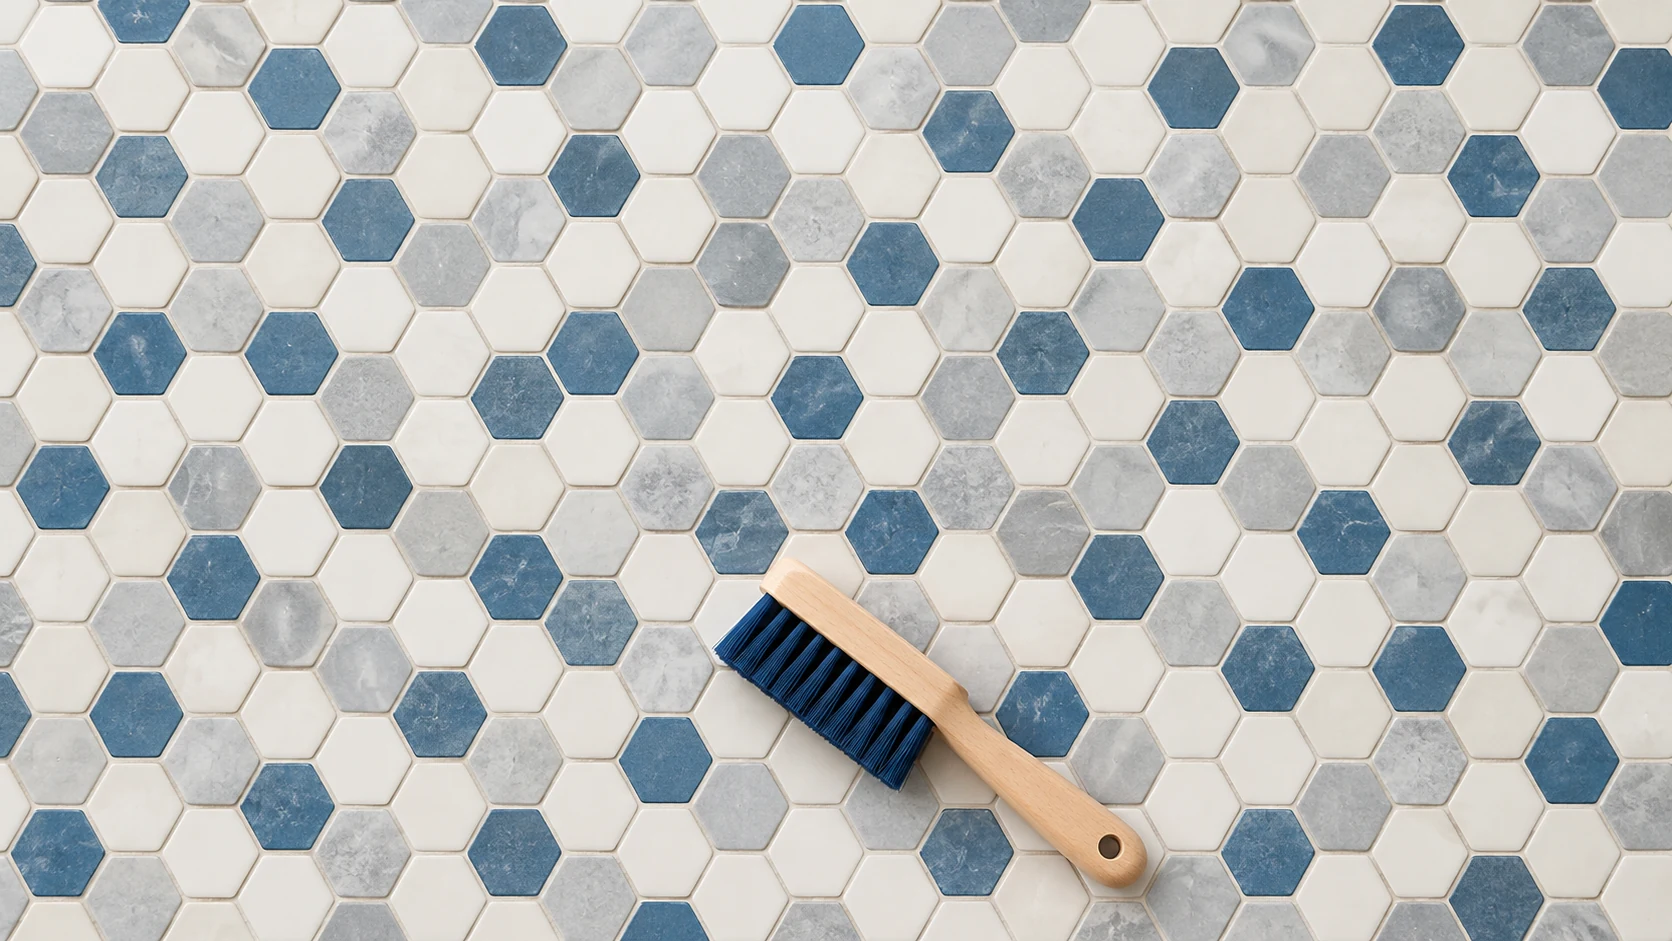
A mosaic floor needs a method that respects every material in the pattern and reaches its many joints. Remove grit, use one cleaner compatible with the entire installation, work gently through small sections and recover the dirty water. Tiny tiles can create a surprisingly large amount of grout to maintain.
Identify the whole pattern
Mosaic describes an arrangement, not a material. A floor may combine porcelain, marble, glass or metal. Start with the product sheet or installer’s records and use the care limits of the most sensitive component. A cleaner marked safe for ceramic alone does not establish that it is safe for a mixed mosaic.
Check the condition under good light. Loose pieces, sharp edges, exposed mesh, cracked joints and gaps around the room need repair. Avoid kneeling or placing a mop bucket on an unstable area. Freshly installed mosaics also need the grout manufacturer’s cleaning clearance before routine washing.
Supplies for small tiles
- A compatible mild or neutral cleaner with clear dilution instructions
- Soft microfiber pads and a small soft nylon brush approved for the finish
- A floor-safe vacuum attachment, fresh water and clean absorbent towels
- Label-required protective equipment and a barrier for the damp work area
Follow a repeatable path
1. Remove mats and movable objects. Lift the loose dirt with a non-scratching attachment, working carefully around edges. Do not use a rotating brush that catches loose pieces. This is ordinary care, not a method for unidentified post-construction debris.
2. Choose a test area that includes every material in the design. A test on a porcelain square tells you nothing about the marble border beside it. Clean, rinse and let the entire test dry before checking for color or finish changes.
3. Divide the floor into sections using the pattern as a guide. Apply the correctly diluted cleaner to one section. Keep the label’s contact time controlled and do not let the solution dry across the many recesses.
4. Wipe the tile faces, then use gentle brush strokes across the joints where needed. Keep the tool flat enough that no hard edge knocks against the tile corners. Do not dig into the grout or flexible seals.
5. Pick up the loosened soil rather than pushing it into the next section. Use fresh water for the required rinse and collect that liquid too. Change pad faces frequently; mosaic joints make it easy to miss a ribbon of dirty water.
6. Dry the floor and inspect from more than one direction. Check where sheets meet, along the wall and around drains or fixture bases. A clean patch in the center should not distract from a dirty perimeter.
Mistakes that cost more than time
Skip abrasive powders, metal brushes and a blanket vinegar wash. Acid-sensitive stone can be damaged even when most of the mosaic is porcelain. Do not add a shine coating to conceal uneven appearance, and do not assume every joint needs the same sealer as an older cement-grout installation.
If loose pieces move during wiping, stop and have the installation assessed. A persistent color difference may be material variation, old staining or a grout issue. Photograph the dry area and note what actually changed during the test before asking the supplier for advice.
Keep it looking intentional
Remove entrance grit regularly and clean spills promptly. Give the perimeter the same attention as the main walking path. For office-cleaning planning in Orange County, Chino and Ontario, California, contact JLV at /contact/ and include the mosaic’s material information if you have it.