
Bathroom cleaning
How to Clean a Bathroom Floor Around Fixtures
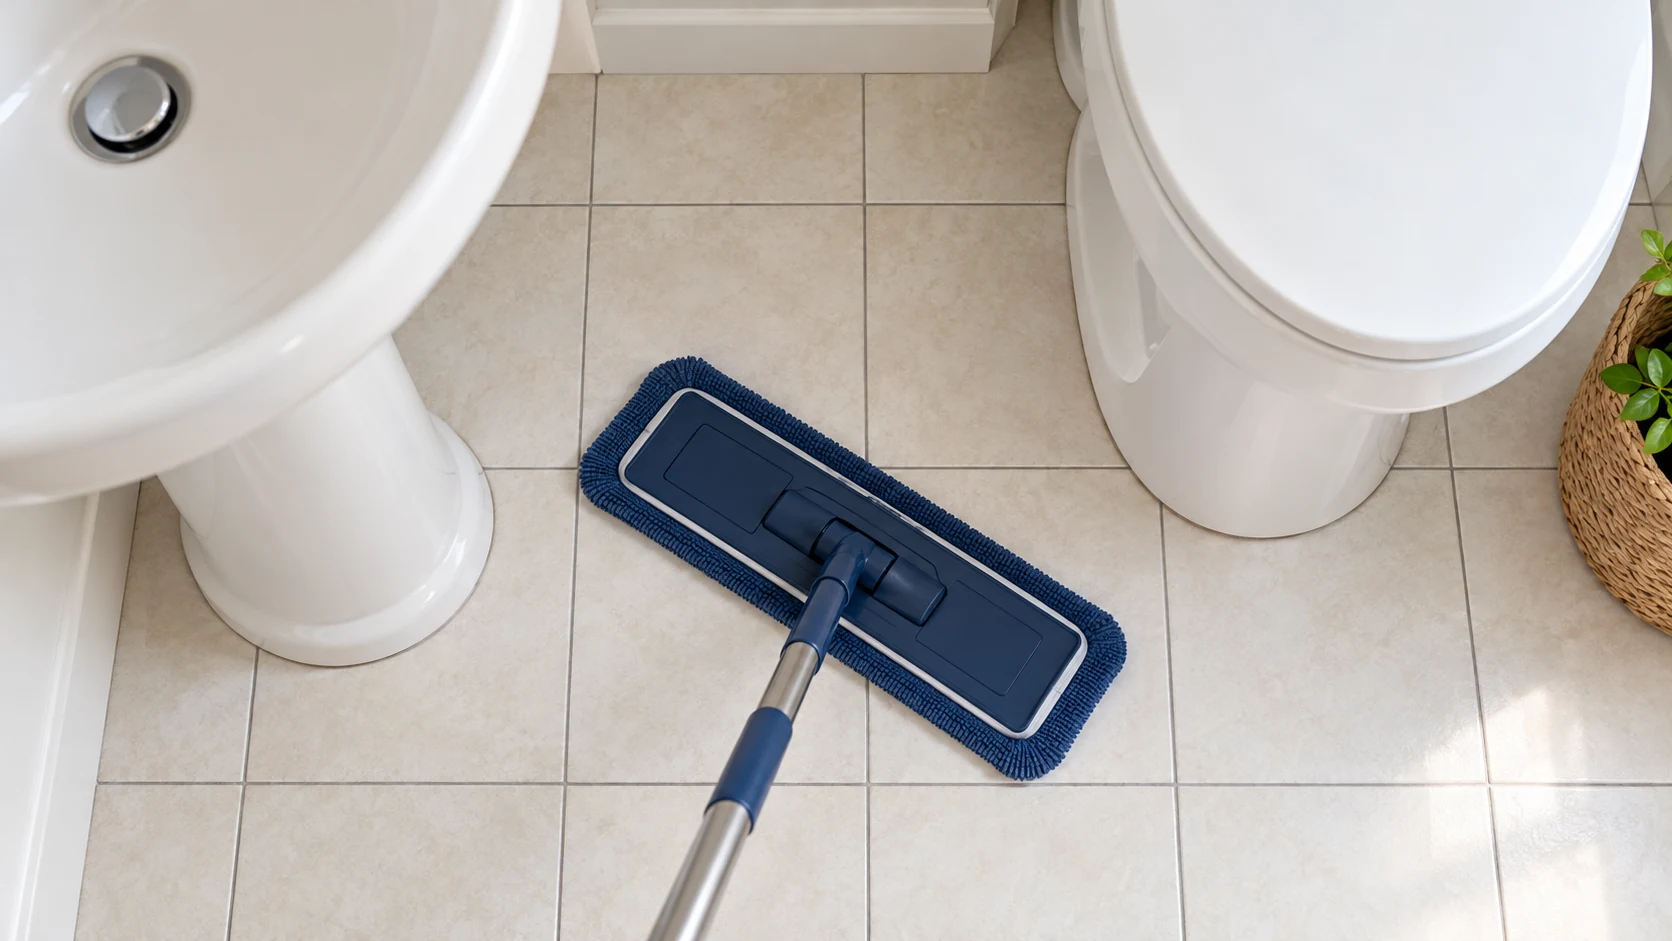
Clean bathroom floor edges with small, controlled amounts of compatible solution and dedicated tools. Work from the less-soiled areas toward toilet bases, collect dirty liquid and dry the floor. Flooding the space makes it easier to push residue beneath fixtures and into damaged joints.
Know the floor under the fixtures
Identify whether the floor is ceramic or porcelain tile, natural stone, resilient flooring or another material. The product must suit the floor, grout, sealer and nearby cabinet finish. For stone, use its supplier’s care guide rather than a generic acidic bathroom cleaner.
Inspect around toilet bases, vanity feet, pipes and thresholds. Fresh moisture that returns after drying, loose flooring, soft cabinet edges or a rocking fixture needs a repair assessment. Do not caulk over a suspected leak or treat it as ordinary dirty mop water.
Build a floor-only kit
- Cleaner approved for the actual floor and adjoining materials
- Small microfiber mop, soft cloths and a gentle detail brush if permitted
- Clean rinse water and absorbent towels or appropriate liquid-recovery equipment
- Dedicated toilet-zone tools, label-required protection and a wet-floor barrier
Reach the edges without flooding
1. Clear movable bins, scales, mats and supplies. Inspect their undersides for dampness or trapped grit. Keep them off the floor until it is dry, and leave yourself a clear exit route.
2. Remove ordinary loose hair and debris. Use a suitable non-scratching tool and pick up material around bases rather than pushing it into seams. If bodily waste, sewage or unidentified hazardous debris is present, use the appropriate facility response instead of routine floor cleaning.
3. Test a new cleaner discreetly. Follow its dilution and timing, rinse as required and inspect the dry result. A successful test on tile does not establish compatibility with a painted vanity or marble threshold.
4. Start at the less-soiled open area and vanity perimeter. Use a damp cloth or small mop to reach edges. Fold the cloth to a fresh face as it picks up soil, keeping dirty tools out of the clean-water supply.
5. Switch to dedicated tools for the toilet zone. Clean the floor around the outside of the base with controlled strokes. Do not push a brush under the fixture, dig into caulk or pour solution into the narrow gap.
6. Collect the dirty liquid and complete the required rinse with fresh water. Dry edges, corners and the floor around pipe penetrations. Check behind the door and below overhangs without kneeling on a wet slippery surface.
Check the finish before reopening
Look for missed hair, a line of residue at the wall and water that has collected under a cabinet edge. Reopen the area only when it is dry and safe to walk through. Clean the removed bins or mat undersides before returning them so you do not immediately redeposit dirt.
If disinfection is indicated, use a product approved for the floor and follow its entire label, including contact time. Do not assume routine detergent cleaning meets a disinfection requirement. Never mix products, and keep toilet-area cloths separate from those used on sinks or other fixtures.
Build prevention into the route
Wipe small spills promptly, report leaking fixtures and include perimeter inspection in the routine. Schedule cleaning when the washroom can remain safely out of use while drying. For business and office cleaning in Orange County, Chino and Ontario, California, contact JLV at /contact/ to discuss restroom access, floor materials and priorities.