
Post-construction cleaning
How to Remove Protective Film From New Fixtures
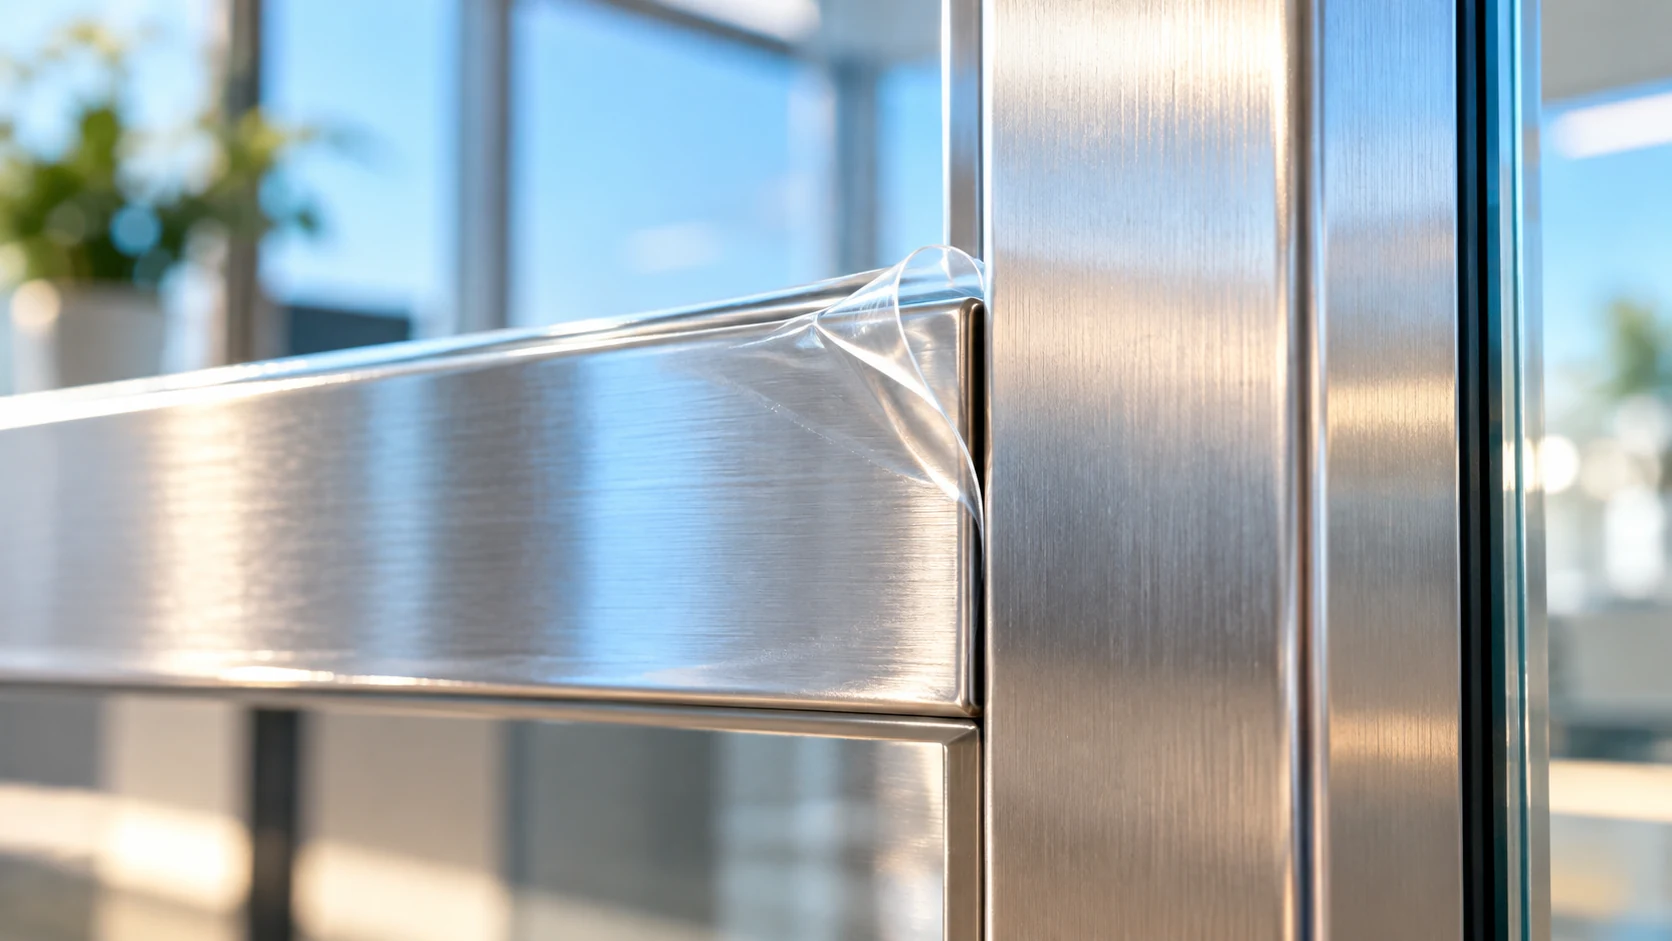
Quick answer
Confirm with the installer that the layer is temporary protective film and that removal is due. Follow the fixture and film manufacturer's directions, using the intended pull tab and controlled hand pressure where permitted. Stop if the finish lifts, the film tears into brittle fragments, or it runs beneath installed trim or sealant.
Make sure the layer should come off
New fixtures can have temporary shipping film, permanent coatings, decorative laminates, labels, or functional membranes. Appearance alone is not enough to distinguish them. Find the model, installation guide, and film information, and ask the installer about any areas that must remain protected.
Removal timing varies. Some protective material is removed before assembly; other covering stays until nearby work is complete. Moen's instructions for a particular drain, for example, call for its protective film to be removed during installation. That example is not a universal schedule for every fixture.
Prepare a clean work area
- Fixture-specific and film-specific instructions
- Clean hands or suitable gloves as the product requires
- Soft, clean cloths approved for the exposed finish
- A container for discarded film
- Good lighting and a camera for documenting existing defects
Keep razors, metal scrapers, abrasive pads, heat guns, and random adhesive removers out of the initial approach. A product safe on plain stainless steel may harm a coated, painted, plastic, or laminated component nearby. Do not assume citrus-based means compatible.
Remove carefully in small stages
First check that dust-generating work has ended and that any construction-dust hazards have been assessed. Do not brush unknown powder from the film into an occupied room. Coordinate ordinary residual-dust removal before handling a large dusty sheet.
Inspect the fixture before starting. Record visible dents, scratches, damaged edges, or film trapped under fasteners. Verify that the item is secure and accessible without climbing on furniture or pulling on installed hardware.
Use the designated tab or an already free corner if the instructions permit it. Follow the maker's pulling direction and angle. Remove a manageable section slowly enough to watch the newly exposed surface. Do not pull against a fragile trim edge or twist a fixture to obtain leverage.
Keep the removed film from dragging adhesive and trapped grit over the exposed finish. Collect it promptly so it cannot become a floor obstruction or be mistaken for material that needs reinstallation. Continue only while the layer releases normally and the surface remains unchanged.
If residue remains, check the manufacturer-approved removal method for both the adhesive and underlying finish. Test a discreet spot when directed. Use no solvent or heat without clear compatibility and the appropriate safety instructions. When the correct method is unknown, leave the residue documented for the installer.
Know when to hand it back
Film trapped beneath a gasket, sealed joint, fastener, or trim may require installation work. Do not cut through sealant, dismantle plumbing, or remove a fixture to finish a cleaning checklist.
Stop when paint or coating comes away, a plastic panel flexes excessively, adhesive spreads, or the film seems bonded by age or heat. Document the condition and contact the supplier. A slightly unfinished appearance is preferable to an avoidable damaged finish.
Inspect before the area opens
Review the dry surface under normal light, check that all intended temporary pieces were removed, and leave required labels intact. List unresolved areas separately from completed ones. JLV can discuss post-construction cleaning preparation in Orange County, Chino, and Ontario at /contact/.