
Fixtures & surface cleaning
How to Clean Painted Walls
The quick answer
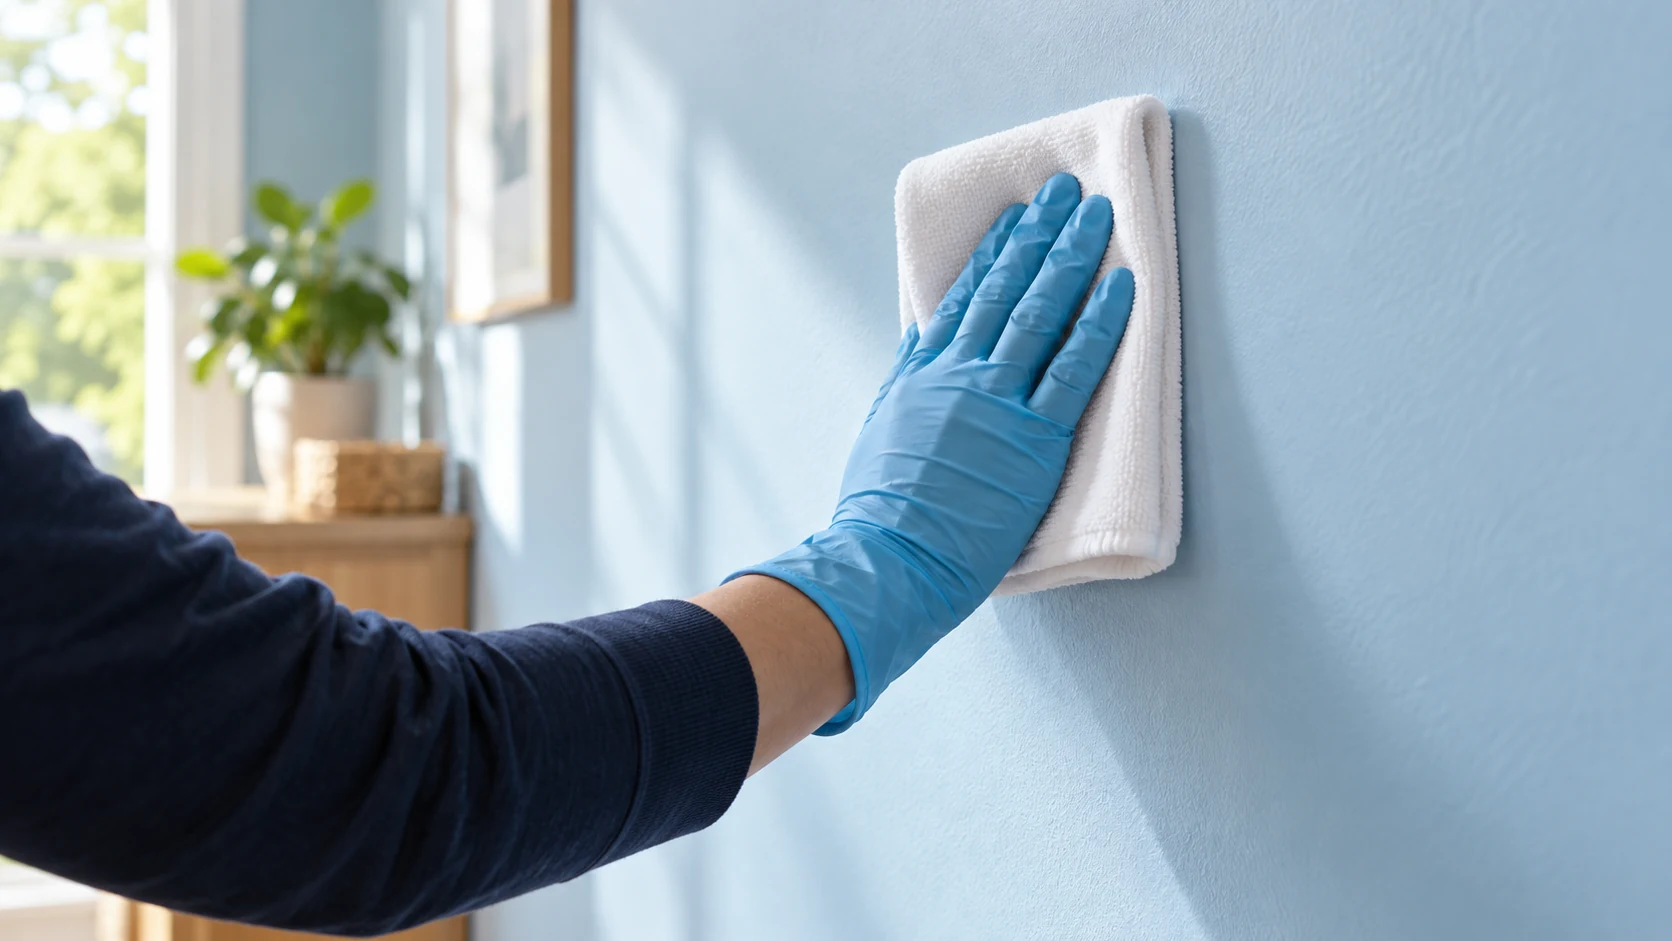
Dust an intact painted wall first, then test plain water on a soft, well-wrung cloth. Use mild soapy water only if the paint's care instructions allow it and water alone does not work. Remove residue and dry gently. Stop if color transfers, the coating softens or the sheen changes. Cleaning should remove soil without creating a permanent polished patch.
Check paint type, sheen and age
Find the coating information if available. Washable paint and ordinary flat paint can respond differently to the same cloth. Lower-sheen finishes often need a lighter touch, while a recently painted wall may need additional curing before washing. Use the actual paint label for the waiting period rather than assuming that dry-to-touch means ready to scrub.
Inspect for peeling, bubbling, dampness or cracks. Do not sand, scrape or aggressively brush old deteriorating paint; suspected lead or another hazardous coating needs suitable assessment first. Water stains and recurring damp spots may point to a building issue. Keep wall washing away from electrical devices and their openings.
Set out the supplies
- Soft, clean cloths or nonabrasive sponges
- A gentle vacuum dust brush or another paint-approved dusting tool
- Clean water and mild detergent permitted for the coating
- Separate wash and rinse containers plus floor protection
Wash with a light touch
1. Ask for permission to move furniture and protect belongings. Leave heavy or connected equipment for authorized staff to relocate. Put absorbent protection along the floor edge without creating a trip hazard. Check that you can reach the area safely without climbing onto furniture.
2. Remove ordinary loose dust gently. Avoid dragging a dirty brush across the wall. If a coating is loose or chalking heavily, stop instead of continuing to brush it away. Dusting helps prevent the first damp pass from turning loose soil into streaks.
3. Test a discreet area using the complete intended method and wait for it to dry. Start with clean water. If the result is acceptable but soil remains, test the permitted mild detergent at its recommended dilution. Judge the dried appearance from the side as well as straight on.
4. Work in small sections with a well-wrung cloth and gentle pressure. Follow the paint maker's direction for washing; a bottom-up sequence can limit dirty runoff on an unwashed wall. Rinse the cloth often and keep drips away from outlets, trim and floor joints.
5. Remove cleaner residue with a fresh damp cloth, then dry gently. Allow the wall to finish drying before evaluating remaining marks or replacing furniture. Inspect in ordinary light so you do not chase shadows or differences caused by temporary moisture.
Avoid escalating too quickly
Do not begin with a melamine eraser, abrasive powder, solvent or bleach mixture. Abrasive rubbing can alter the gloss even when the mark disappears. Never combine cleaners or use a stronger concentration to compensate for a dirty cloth. Do not soak wallboard, seams or areas around switches.
When the mark stays
A transfer mark may improve with careful cleaning; a scratch, missing paint or burnished patch may require touch-up or repainting. Stop when more wiping changes the finish rather than lifting soil. Ask a painting professional about repairs and matching the existing coating. Recurring moisture staining needs the underlying source addressed first.
Keep high-contact areas manageable
Check chair backs, carts and door handles for repeated wall contact. Gentle early spot care, where permitted, is simpler than repeated heavy scrubbing. For office cleaning in Orange County, Chino and Ontario, California, contact JLV at /contact/ to discuss a routine suited to the workplace finishes.