
Fixtures & surface cleaning
How to Clean Brushed Nickel Fixtures
The quick answer
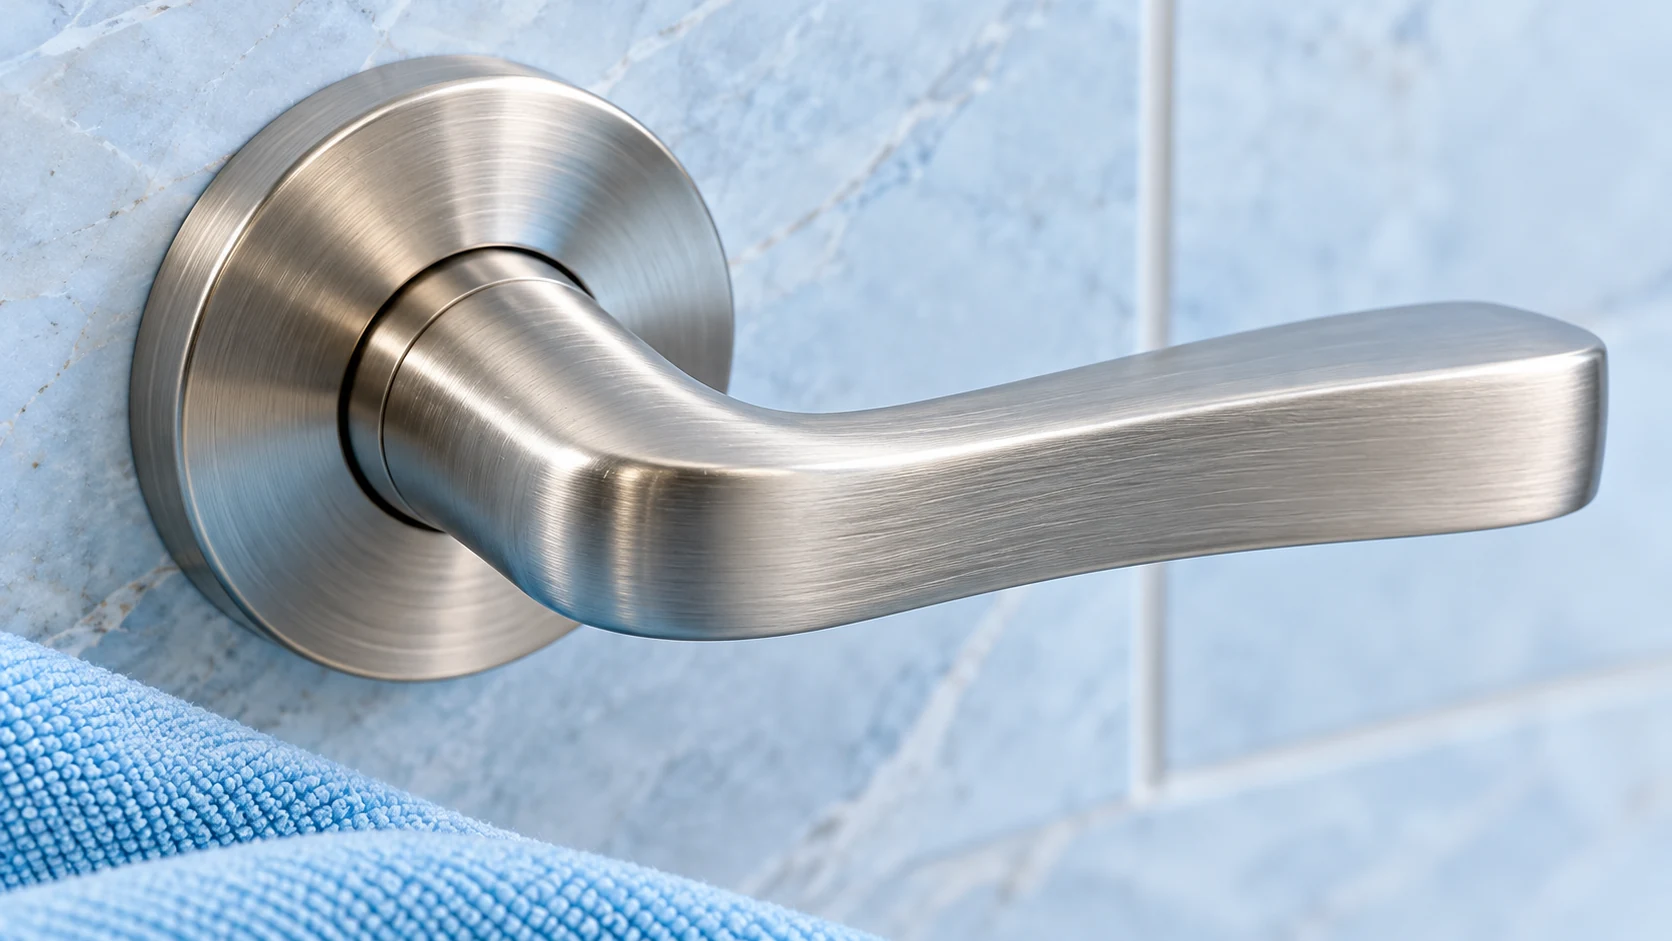
Use the fixture maker's approved soft cloth and gentle cleaner, then remove residue and dry the surface. Preserve the original brushed appearance instead of trying to make it mirror-bright. Brushed nickel is a finish description, not a complete cleaning specification, so confirm the product before treating mineral deposits or applying metal polish.
Identify the coating, not just the color
Fixtures sold as brushed nickel may use different plating, protective layers or physical vapor deposition finishes. The finish name on an invoice or installation guide is more useful than comparing photographs online. A silver-toned faucet, towel bar and door pull in the same room may not have matching care requirements.
Inspect the surface in good light. Look for a regular brushed pattern, isolated shiny patches, peeling or wear at high-contact points. An area made smoother by repeated rubbing may reflect light differently even after it is clean. Note existing damage before beginning, and keep electronic controls or sensor housings outside ordinary wet-cleaning steps.
Supplies
- Clean, soft cotton or another cloth type specifically permitted by the fixture maker
- Clean water and the approved mild cleaning product
- A separate soft drying cloth
- Protection for adjacent stone, painted surfaces and floor finishes
A finish-preserving method
1. Clear personal items and locate the finish-specific instructions. Check both the allowed chemistry and the tool material. Some manufacturers restrict microfiber cloths as well as obvious scouring pads. Choose the specified cloth rather than assuming every soft-looking textile is appropriate.
2. Start with a lightly damp cloth and gentle wiping to lift fresh splashes and fingerprints. If a directional pattern is visible, avoid rough rubbing across it. Wipe the whole accessible component evenly rather than concentrating pressure on one small bright or dark spot.
3. Use the approved cleaner only where needed, putting it on the cloth if directed. Follow the stated contact time and protect neighboring materials from runoff. Do not spray into a handle joint, a mounting seam or a sensor window. Never combine cleaning products.
4. Remove the cleaner with clean water using the maker's prescribed method. Use a fresh cloth face around the rear of a faucet or underside of a rail, where product can hide. Keep the cleaning cloth from transferring residue onto a different metal finish nearby.
5. Dry the surface gently. Inspect it after drying under the same light used at the start. Record any remaining mark and its location rather than beginning a succession of stronger treatments. Return objects carefully so their bases do not scrape the metal.
Mistakes that change brushed nickel
Metal polish, abrasive sponges and scratch-removal compounds can change the intended sheen. Do not use a chrome-care recipe or a vinegar wrap simply because both fixtures look silver. Acid compatibility differs by manufacturer. Avoid steam, uncontrolled soaking and cleaners that the finish guide excludes. A stronger solution can cause more damage without removing the actual cause of a mark.
If deposits or dark patches remain
Light water marks may respond to the approved routine method. Raised scale needs a specific recommendation for this finish. Persistent shiny patches, exposed underlayers or peeling require the supplier's assessment. Stop if a cloth collects finish color or the surface changes appearance while cleaning. A plumber can address leaks; a finish specialist or product supplier can assess damaged hardware.
Keep future care consistent
Dry fresh splashes and keep the exact finish name in the cleaning instructions. Use a separate cloth for bathroom fixtures, and deal with recurring drips at their source. For business cleaning in Orange County, Chino and Ontario, California, JLV can discuss a routine that respects your material specifications. Contact /contact/.