
Office cleaning
What to include in a cleaning walkthrough photo set
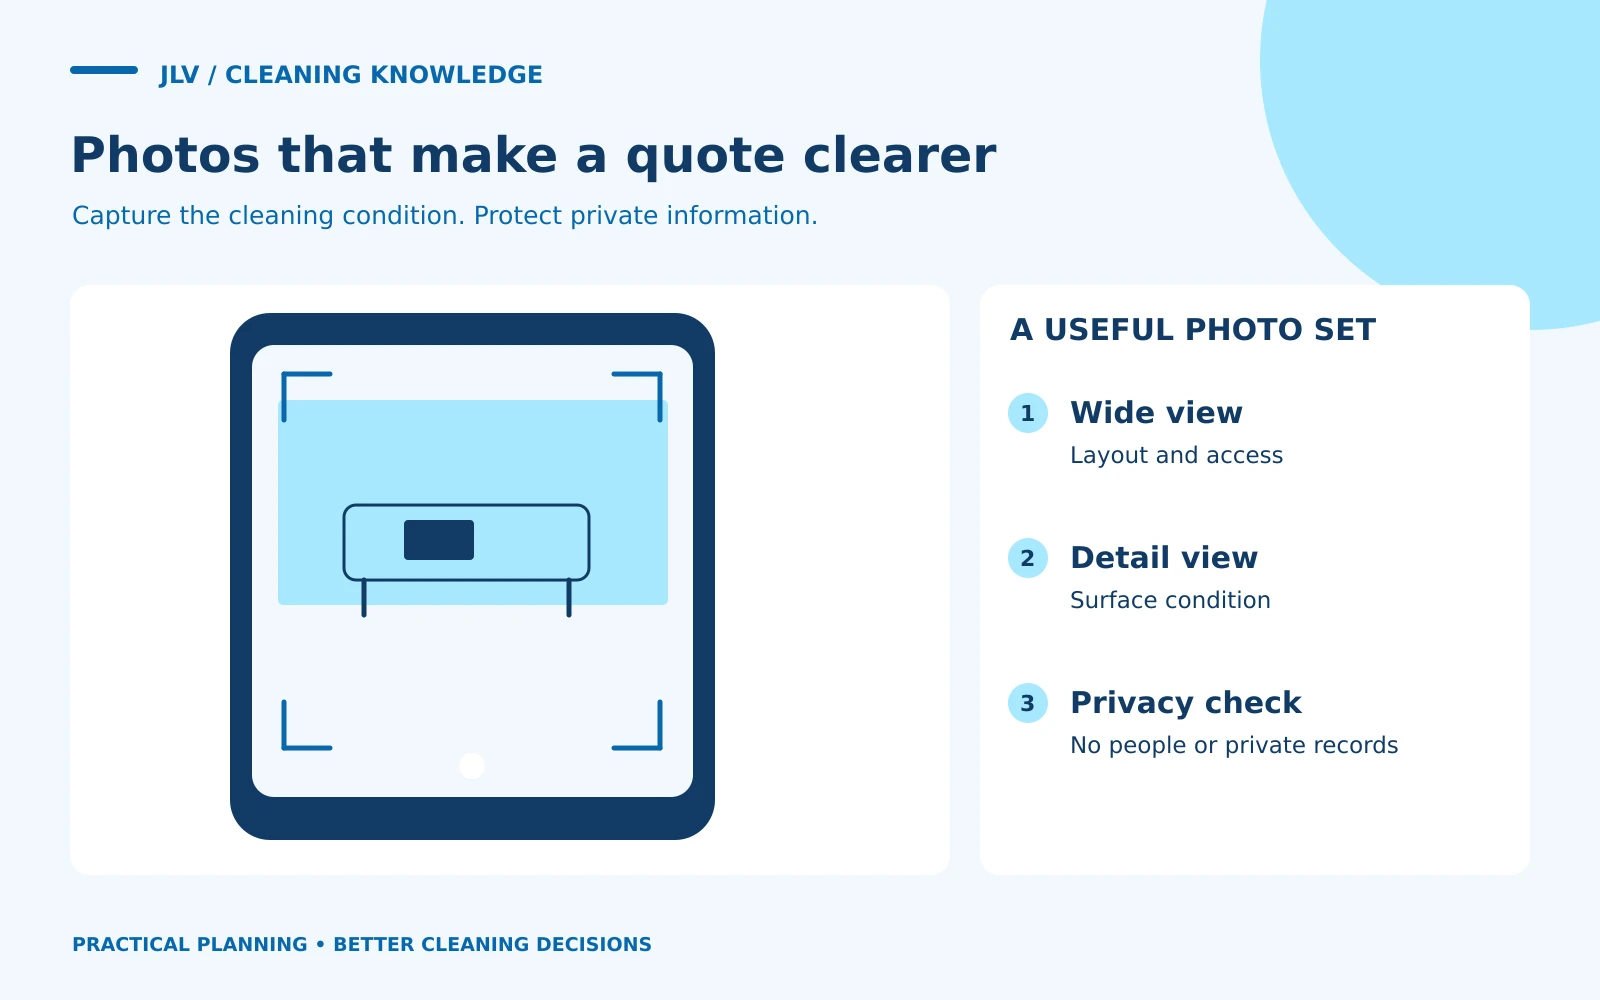
A useful cleaning walkthrough photo set shows surfaces, condition, room layout, and access constraints while leaving out people and confidential information. Aim for enough context to explain the work, followed by a few close-ups of details that change the proposed method. More photographs do not necessarily make the estimate more accurate.
Agree on permission before taking pictures
Ask the site contact which rooms may be photographed and who may receive the images. A staff member’s ability to enter a room does not automatically mean it is appropriate to photograph everything inside it. If the building restricts photography, use a written description or arrange an accompanied walkthrough instead.
Before taking photos, have an authorized person secure papers, turn off or lock visible displays, and remove name badges or visitor lists from view. Do not rearrange private documents yourself. The Federal Trade Commission recommends limiting retained personal information and restricting access to people who need it. Applying that principle here means capturing the cleaning condition, not the office’s business records. FTC business privacy guidance
Build a small, organized set
For each relevant room, take one wide view that establishes the layout and one detail view where necessary. Use neutral filenames such as “Meeting-room-B-floor-transition.” An accompanying list can explain what the viewer should notice without adding sensitive details to the image itself.
A practical office set might include:
- The entry flooring and mat area
- A representative workstation aisle with clear screens and desks
- A meeting room showing table clearance and floor material
- An empty restroom showing fixtures and dispenser types
- A close-up of an unidentified finish, stain, or damaged edge
- The approved waste transfer route, without door codes or security controls
Avoid photographing people in restrooms or other private settings. Wait until the area is empty and cleared for photography. If a needed photograph cannot be taken appropriately, mark the item for inspection in person.
Show uncertainty honestly
A close-up of a cloudy patch may not show whether it is residue, wear, or finish damage. Label it “condition to assess” instead of “stain to remove.” Include a wider companion image so the provider understands the location and scale. Do not change exposure or edit the image to exaggerate or hide a condition.
For a post-construction walkthrough, separate dust, adhesive residue, installed surfaces, and unfinished trade work in the photo log. Avoid claiming that a picture establishes the dust’s composition or proves a surface is safe to clean. Suspected hazardous materials require appropriate assessment; a remote photo estimate cannot resolve every site risk.
Review before sharing
Zoom into each image. Check reflections, whiteboards, envelopes, screens, cabinet labels, personal belongings, and security details near doors. Retake an image when possible rather than relying on a quick blur over important information. Follow your organization’s approved process for removing sensitive content and location metadata where needed.
Share through an approved, access-controlled channel with the specific people preparing or approving the quote. Agree on retention and deletion expectations, and avoid public galleries. Keep photographs intended for estimating separate from any marketing permission; permission to inspect or quote does not imply permission to publish a client’s workplace.
Add context that photographs cannot supply
Send a short room list, estimated area, service window, occupancy pattern, exclusions, and questions alongside the images. Mark inaccessible rooms and any conditions that have changed since the photographs were taken. JLV can use an appropriately prepared office or post-construction photo set as background for a quote discussion, with an on-site review where the scope or materials require it.