
Fixtures & surface cleaning
How to Clean Removable Light Fixture Shades
The quick answer
Follow the fixture manual to isolate power, let the light cool, and remove only a shade intended for safe owner maintenance. Wash plain washable glass by hand when the manufacturer permits it, then dry completely before reinstalling. Plastic, fabric, painted and bonded shades need their own care methods. Keep sockets, wiring and integrated LEDs dry.
Check material, access and attachment
Find the fixture model before undoing a fitting. A decorative glass shade, acrylic diffuser and integrated LED panel can look similar from below. Some covers contain electronics or depend on clips that need a particular release sequence. Do not pull or twist an unfamiliar assembly to discover how it works.
Use only a safe, stable access arrangement appropriate to the workplace. Do not stand on desks, swivel chairs, sinks or improvised platforms. If the shade is high, heavy, cracked, awkward to support or requires work around wiring, use qualified maintenance help. Cleaning a shade does not require taking the fixture off the ceiling.
Supplies
- The fixture's removal and cleaning instructions
- Soft lint-free cloths and a padded, stable work surface
- Mild soap and water only for shades confirmed washable
- A safe drying area and a small container to keep permitted removable fittings together
Clean after cooling
1. Arrange power isolation through the appropriate authorized person and allow the fixture to cool fully. Confirm the cleaning can be done without exposing electrical components. Keep people and furniture away from the work area below so a dropped part cannot strike them.
2. Support the shade while releasing its fasteners exactly as the manual describes. Stop if a fitting is stuck, the shade binds or the glass is damaged. Do not pry against a glass edge or let the final fastener support the entire weight unexpectedly.
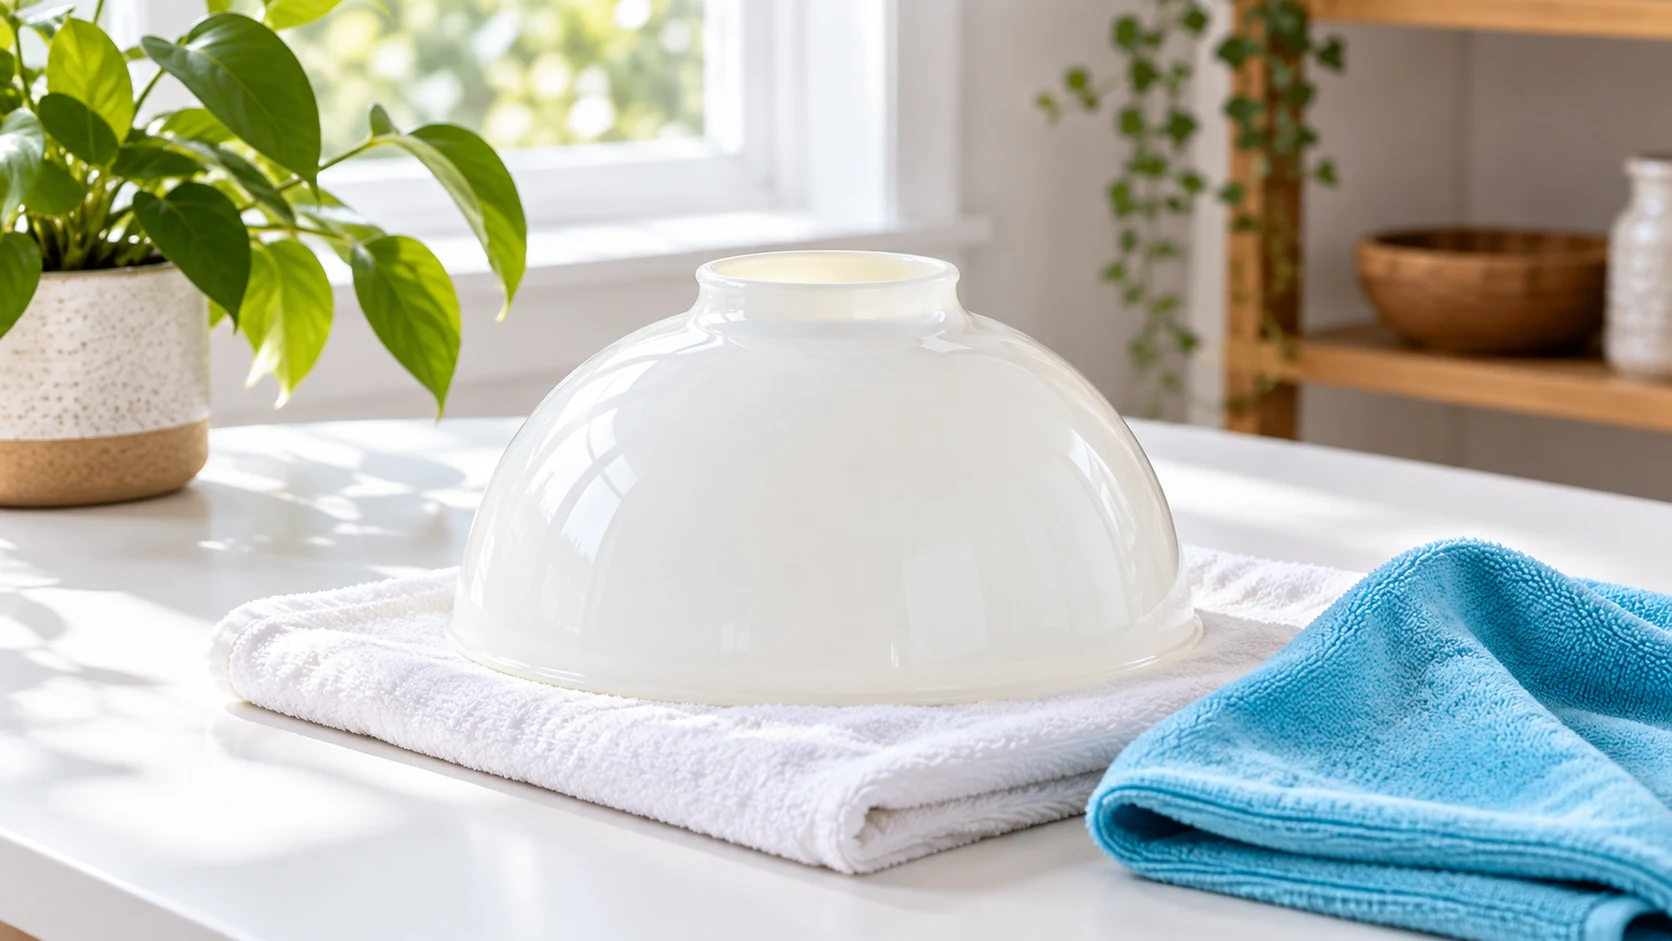
3. Place the shade on the protected work surface and check its material again. For approved washable glass, use a gentle hand wash with the permitted mild solution. Protect it from impacts in the basin. For fabric, coated glass or plastic, follow the specified dry or limited-moisture method instead.
4. Remove cleaner residue and dry the shade thoroughly using the maker's method. Inspect texture and recesses for trapped moisture or lint. Do not put decorative glass in a dishwasher unless its manufacturer specifically allows it, and do not use extreme heat to speed drying.
5. Reinstall only when the shade and fittings are completely dry and undamaged. Seat the components exactly as instructed, without improvising clips or overtightening glass against screws. Have authorized personnel restore power only after the assembly is secure and the work area is clear.
Avoid cleaning the wrong component
Never wash a socket, LED driver, wiring connection or electronic diffuser assembly. Keep liquid away from ventilation openings. Avoid abrasives, metal polish and generic glass sprays when the fixture instructions exclude them. Do not mix cleaners or use a solvent to remove a mark from an unidentified coating.
When a mark survives washing
A haze that wipes away may be ordinary residue, while peeling paint, heat discoloration or scratches may be damage. Stop if a shade looks cracked or its fastening point is compromised. Ask the fixture supplier about an appropriate replacement and have electrical or mounting defects addressed by qualified personnel.
Plan access before the next cleaning
Keep the fixture model and care instructions in the property records. Schedule shade cleaning when safe access and authorized support are available. For broader office cleaning in Orange County, Chino and Ontario, California, discuss your workplace's scope with JLV at /contact/.